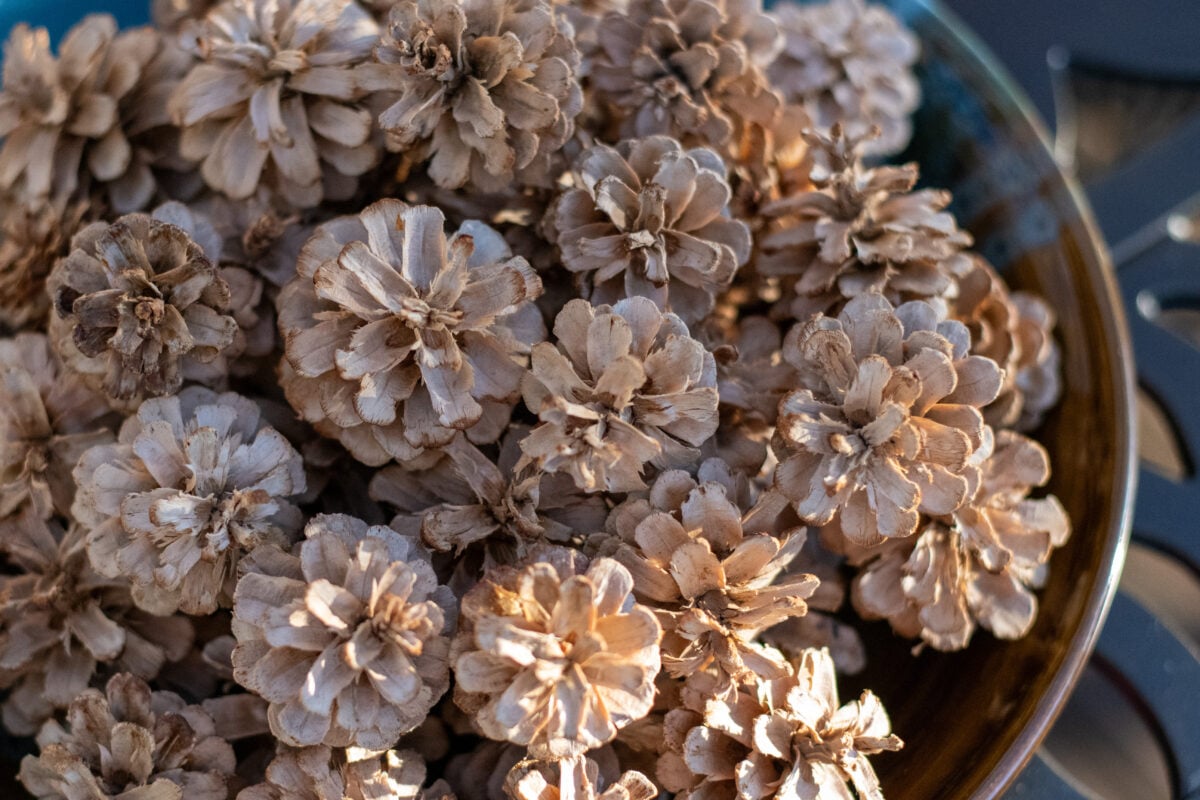
You’d be hard-pressed to find a more rustic decoration than the humble pine cone. These handsome little seed-carrying devices never seem to go out of style when it comes to décor or crafts. And they fit just about every decorating style, too. If you want to level up your pine cone creations, you’ve got to try bleaching them.
This common household cleaner does some amazing things to pine cones.
Pale Pine Cones
“Bleach – v. lighten by chemicals or sunlight.” – Pocket Oxford English Dictionary
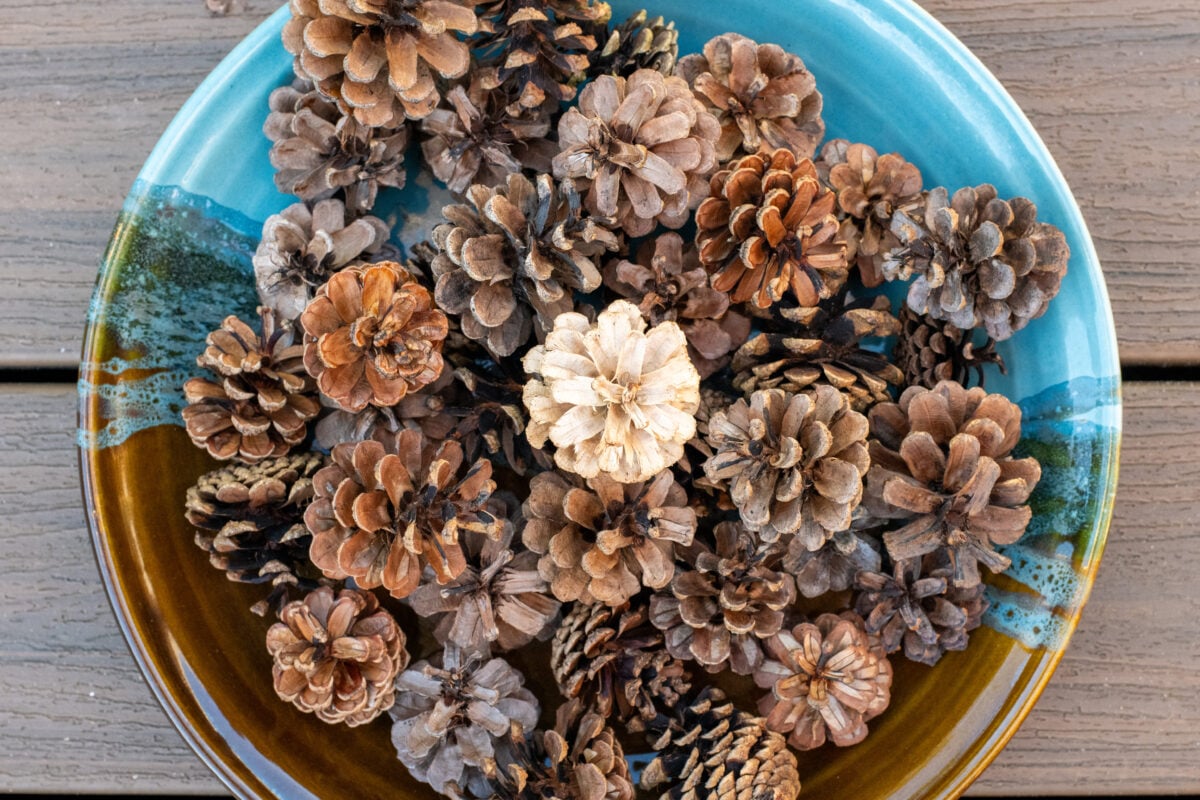
I’m pointing this out right now because some folks may go into this thinking they will be getting perfectly white pine cones at the end of this little adventure. Unfortunately, that’s not the case. If you want white pine cones, the only way to get them is to paint them.
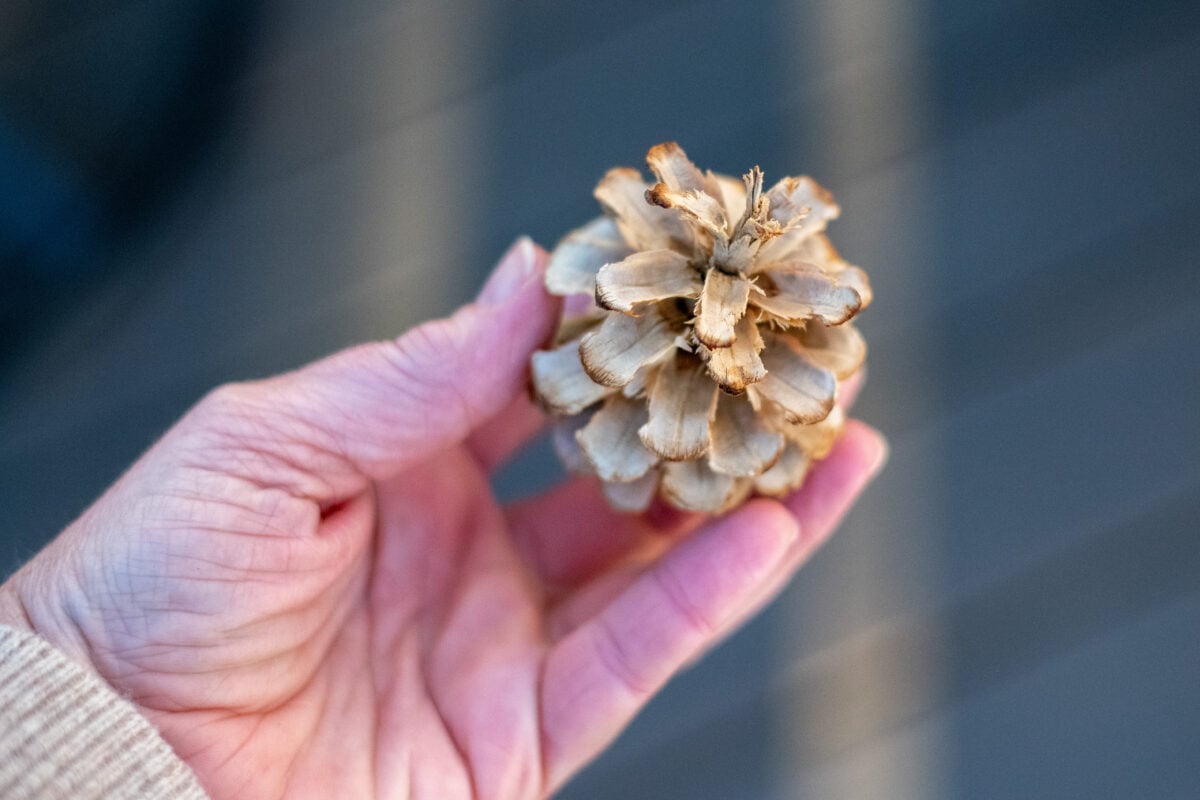
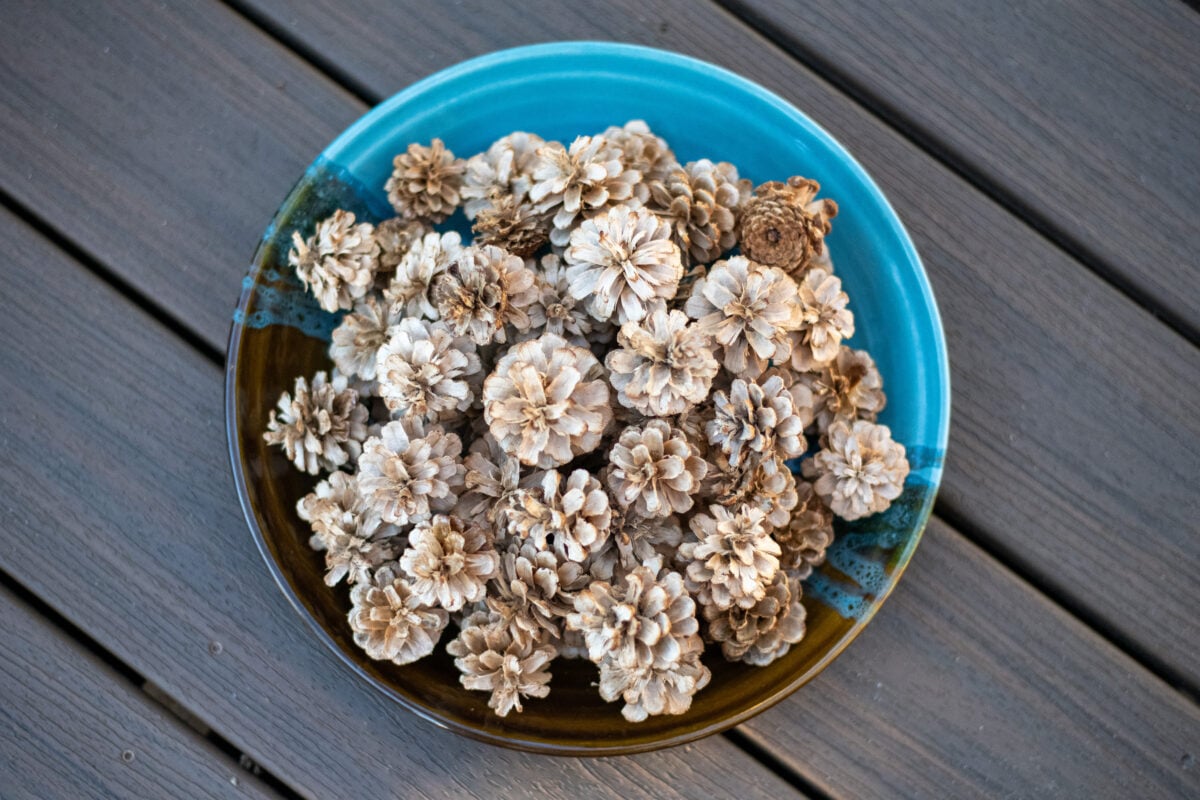
Instead, we’re removing a lot of the pigment in the scales of the pine cone, which will leave us with pine cones that look as though they spent decades on a beach, under the sun. They are less stark than white-painted pine cones and have more of a natural beauty to them.
And yes, we’ll be using bleach to achieve this look.
Is This Safe?
Yes, absolutely!
Bleach gets a bad name because it’s a chemical. People have strange associations with the word “chemical,” yet everything on the planet is made up of chemical compounds. Like most things, some are more dangerous than others. Sharks can be dangerous, but that doesn’t make them inherently bad. The same goes for chemicals like bleach.
Yes, bleach is caustic, but all that means is that you need to be smart and protect your skin while using it. People worry about bleach harming the environment. I’m going to let you in on a little secret. When bleach is exposed to the sun, it breaks down ridiculously fast.
What does bleach break down into?
Water and salt.
Yup. Pretty boring stuff. In fact, because bleach breaks down so fast outside, we’re going to take steps to stabilize it while our pine cones soak so that it can do its job for longer.
Are you ready to jump in with this crafty chemistry project? Great! Let’s go.
Collecting Pine Cones
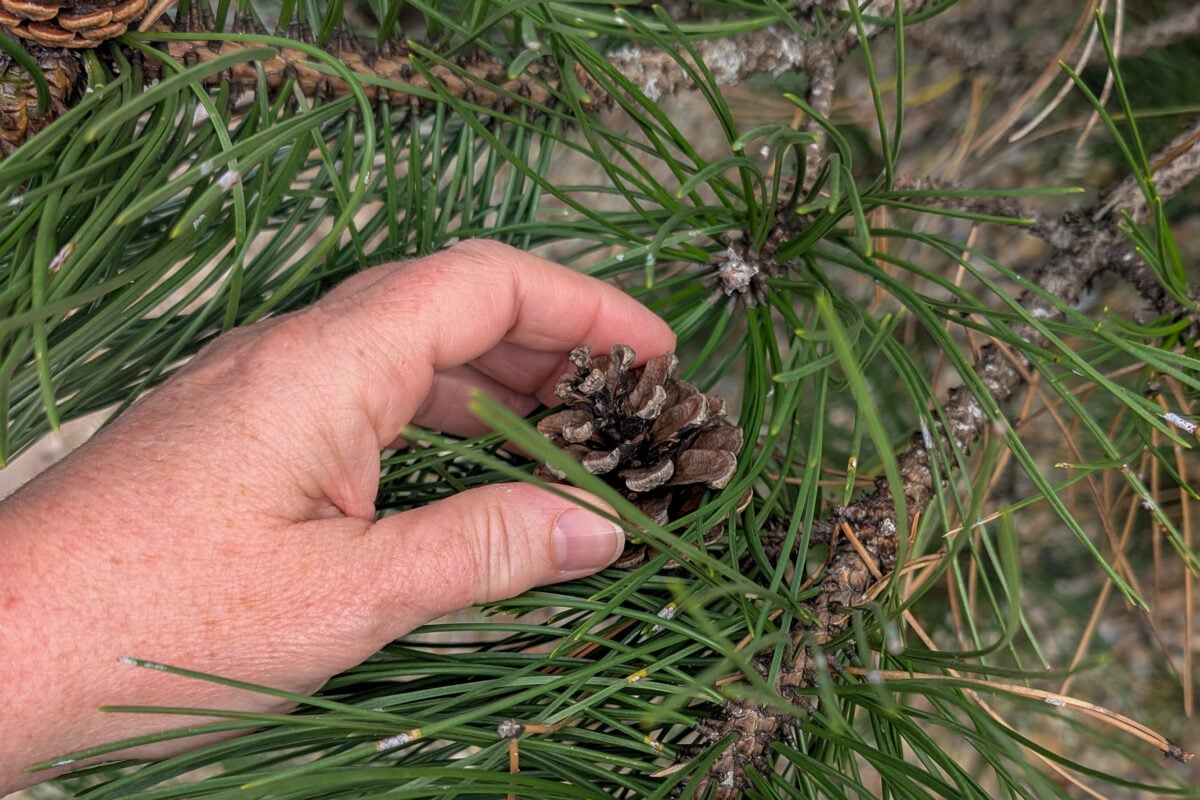
You’ll need pine cones, obviously. If you have pine trees in your yard, lucky you! For the rest of us, we’ll need to do a little traveling to get them. So, it’s off to the woods.
Just kidding. The forest is not the best place for the majority of us to find pine cones. Oddly enough, I’ve found the best place to get pine cones for crafts is in town.
Seriously.
Commercial landscapers love to throw a few scruffy-looking pine trees into their designs, no matter what it’s for. The best place to look for pine cones is among the landscaping at shopping plaza parking lots, apartment complexes and professional parks. Anywhere you can find a mattress store, a Taco Bell, a dentist, and someone selling insurance in the same vicinity, I’ll bet you can find pine cones.
But yes, I also hear that forests have a few pine cones now and then, too. And if that fails, there’s always good ol’ Amazon for pine cones.
What Kind of Pine Cones?
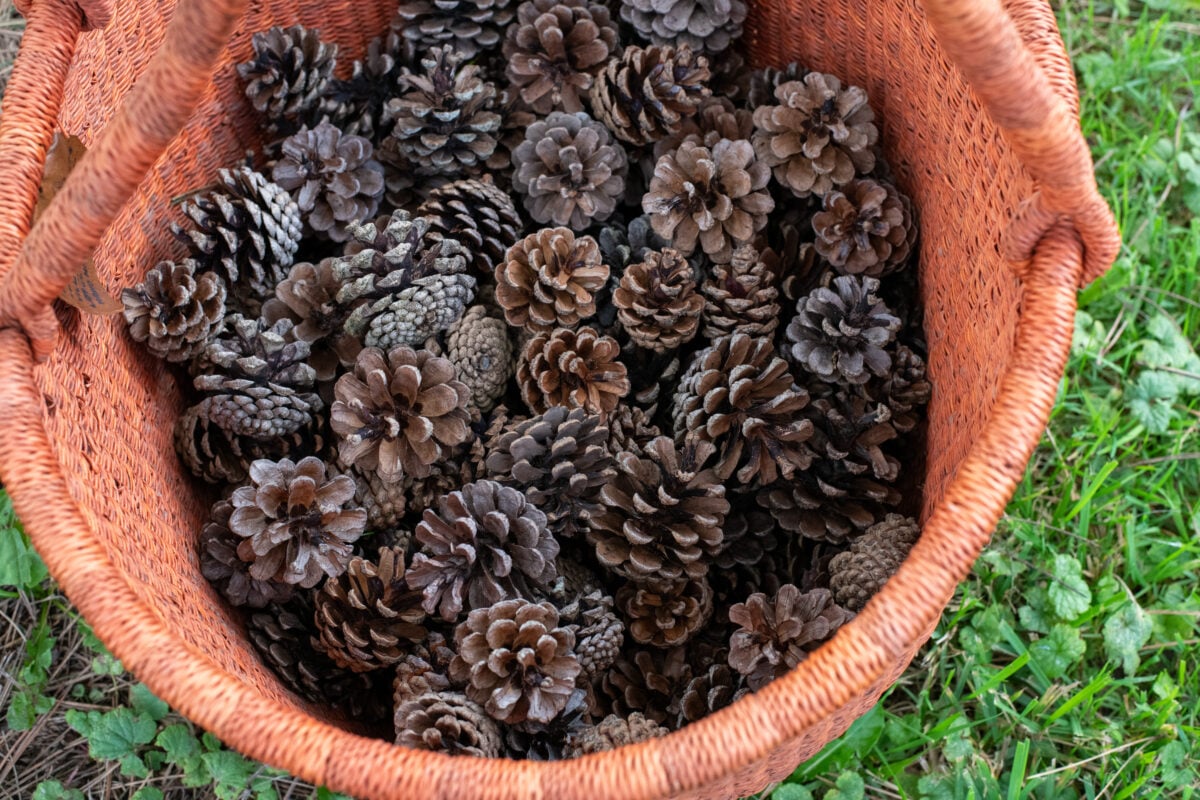
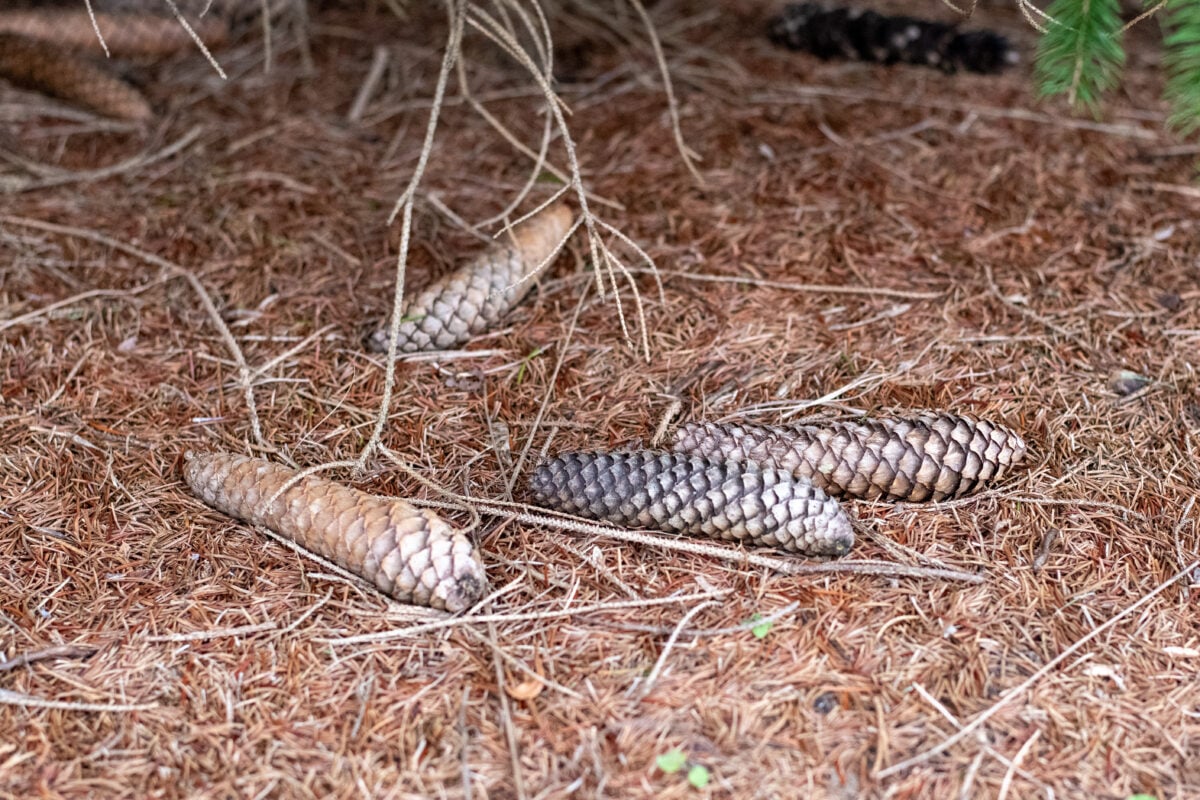
For most crafts, we’re looking for pine cones from hard or yellow pines. These are the classic pine cones that show up doused in cinnamon oil in your grocery store each fall. While you can use the long, slender cones from trees like Eastern White Pine, the scales are much thinner, and they’re usually so laden with sap as to be hard to work with.
Once you have your pine cones, we need to bake them.
Baked Pine Cones – Mmm!
Half the fun of giving your pine cones a little toast is how good your house will smell. If you have teenagers in your house, then you know they are always hungry and will invariably come to ask, “What are you cooking?”
Baked pine cones.
That will keep them out of the kitchen for a while.
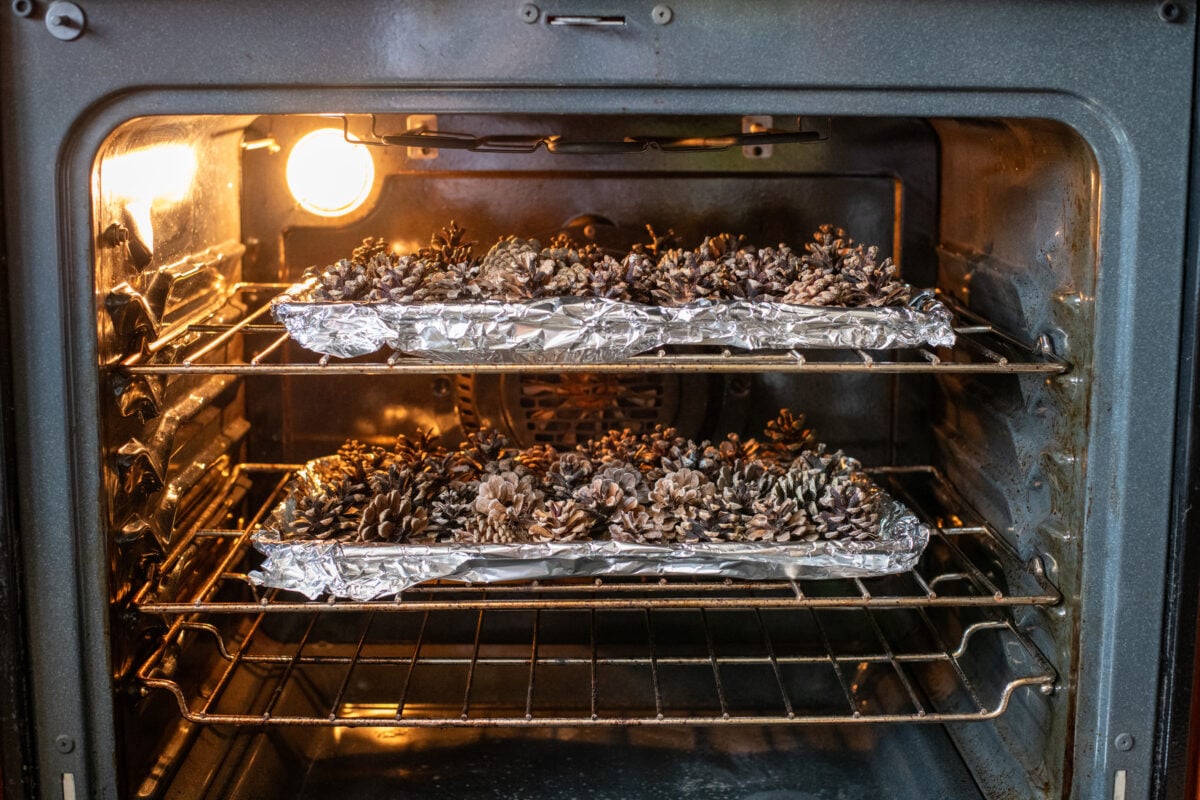
Baking your pine cones takes care of a few important tasks:
- It dries them out and allows closed pine cones to open up.
- It kills any hidden creepy crawlies that have made their home inside the cones.
- And finally, it sets the sap. The sap will soften and run out in the warm oven, which is great if you are using pine cones that are especially sap-filled. As the pine cones cool, the sap will harden. (This is why it’s important to line your sheet pans with aluminum foil first.)
I always bake my pine cones at 250F. I sometimes see 200F suggested, but it takes forever, and it doesn’t get hot enough for the sap to actually melt and drip off of the cones. I start with 250F for half an hour. You may need to bake them longer if they are especially damp.
Let your pine cones cool completely before you use them for anything. On to the bleach!
Why Bleach Whitens Pine Cones
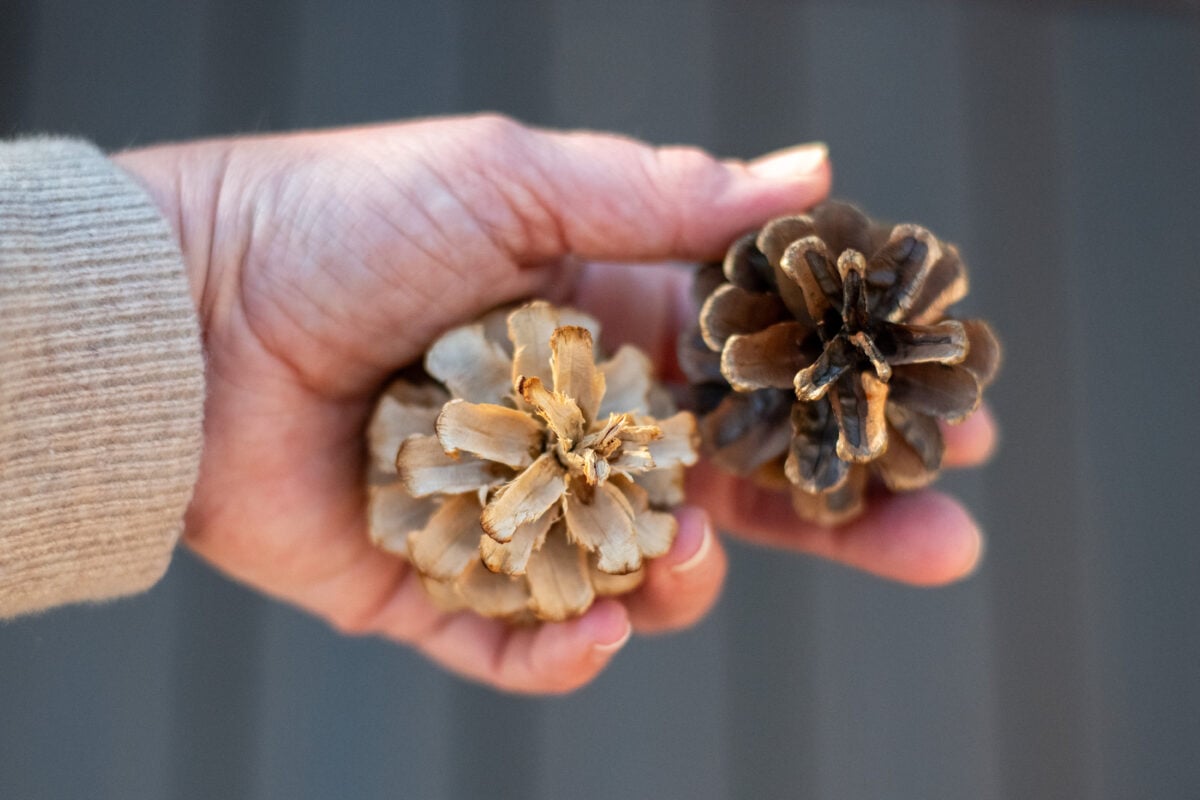
Bleach is an oxidizing chemical. An oxidizer is anything that pulls electrons from another substance.
Most of us are familiar with the most common oxidizer – oxygen. We get rust because oxygen pulls the electrons from iron. We get whiter whites when we use bleach because sodium hypochlorite pulls electrons from the stains.
In this case, we want the sodium hypochlorite to pull electrons from the tannins and phenols from our pine cones, which lightens them and gives them that sun-bleached look.
What Bleach to Use
For the best results, skip the ‘low-splash’ varieties as they have a lot less sodium hypochlorite in them. (Around 4.5% is standard.) Instead, opt for concentrated bleach, which is anywhere from 6-8% sodium hypochlorite. It will work longer and faster before it breaks down into water and salt.
Materials
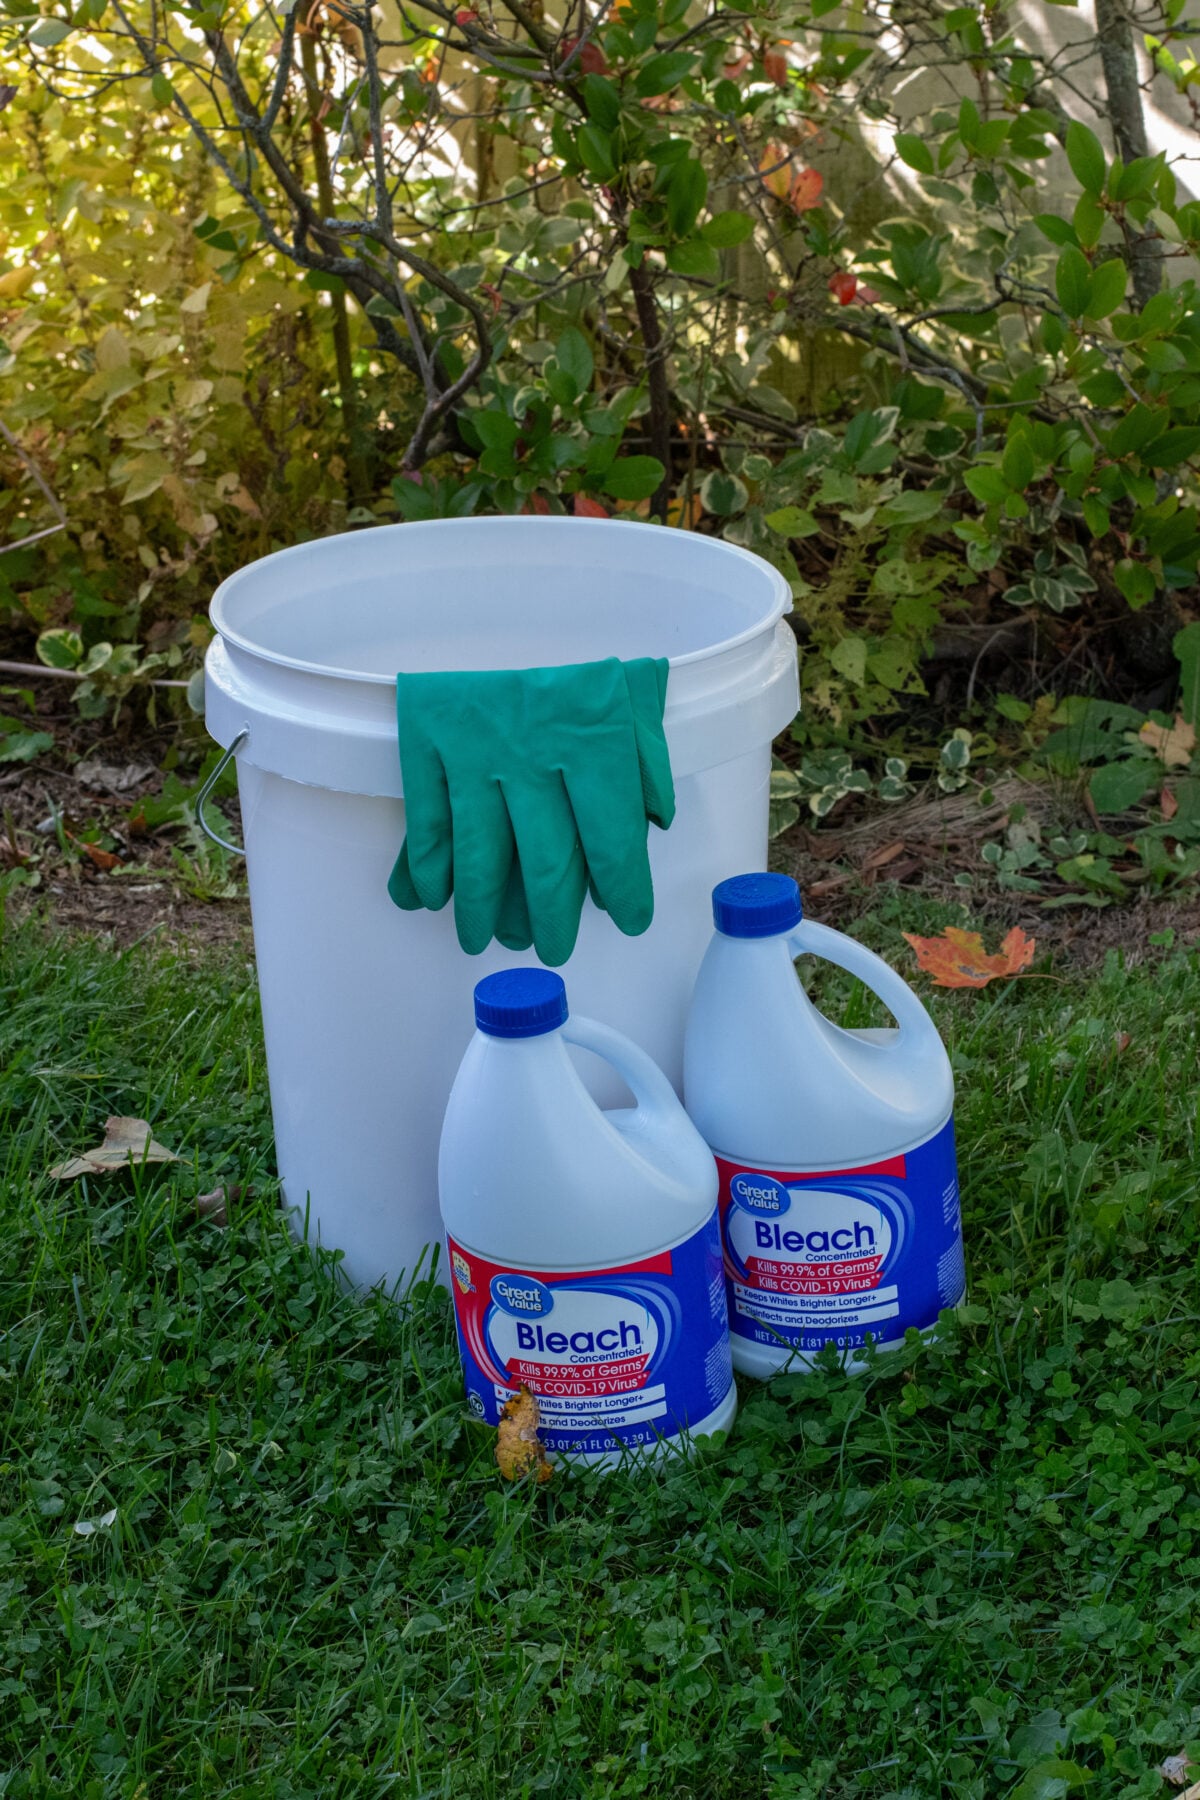
- A clean 5-gallon bucket
- Rubber or nitrile gloves; the kind you use for washing dishes are perfect (I love these and have several pairs for cleaning around the house. They were perfect for this project. Do not use the cloth nitrile-dipped gloves; the cloth backs leave skin exposed to spills)
- Safety glasses or goggles are optional but highly recommended
- Bleach, concentrated will do the best job
- Water
- A stick for stirring (yes, just an ordinary stick from the yard)
- A couple of empty gallon milk jugs, two or three Ziploc freezer bags filled with water, large rocks or scrap pieces of lumber (these will help keep the pine cones submerged)
- Pine cones
Safety
Bleach is caustic and can cause skin irritation or burns. Wear closed-toed shoes, pants and long sleeves. Put gloves on, and goggles if you are using them before you start.
(I know, I know, most of us dump this stuff in our laundry all the time without this getup and aren’t any worse for wear, but it’s the Internet, so yeah, wear some PPE!)
The Process
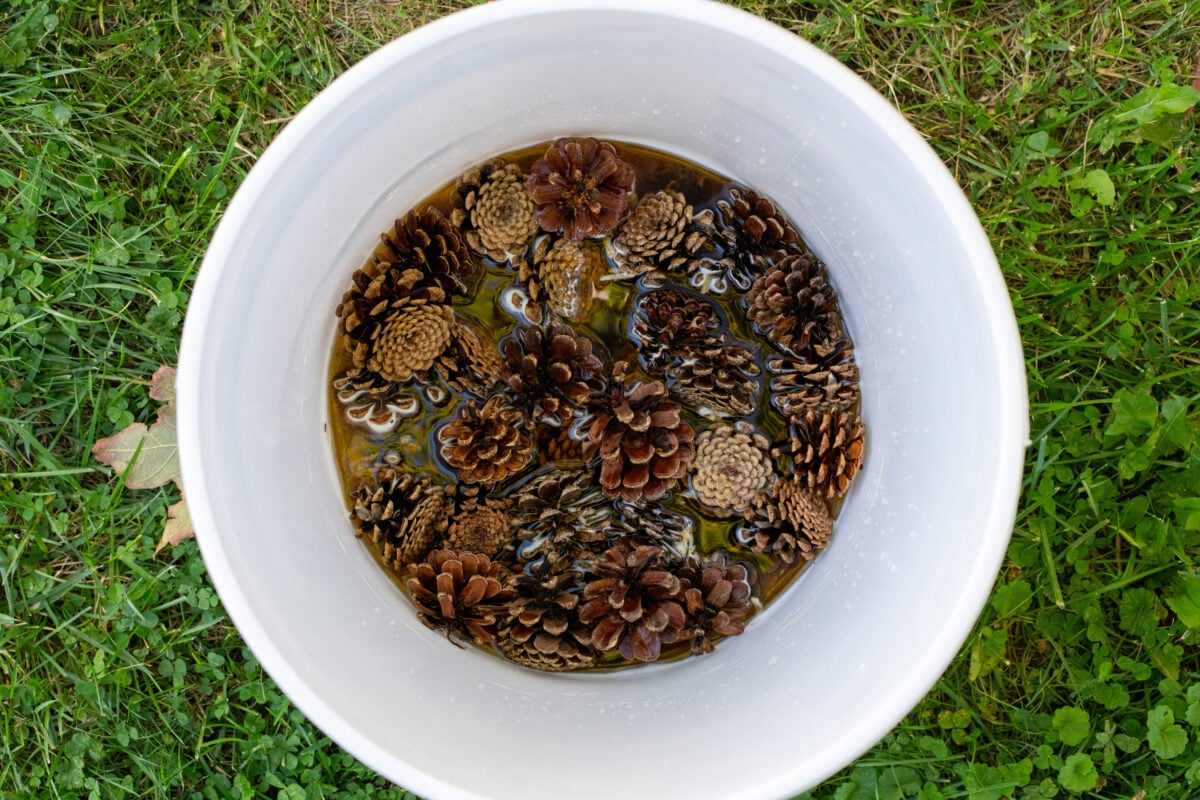
We’ll be mixing water and bleach 1:1 in the 5-gallon bucket. Because bleach breaks down quickly in the sun, we’ll want to set this up in the shadiest outdoor location you can find. It will work even better if you cover the bucket with a board or something to block out the light.
Add your pine cones to the bucket.
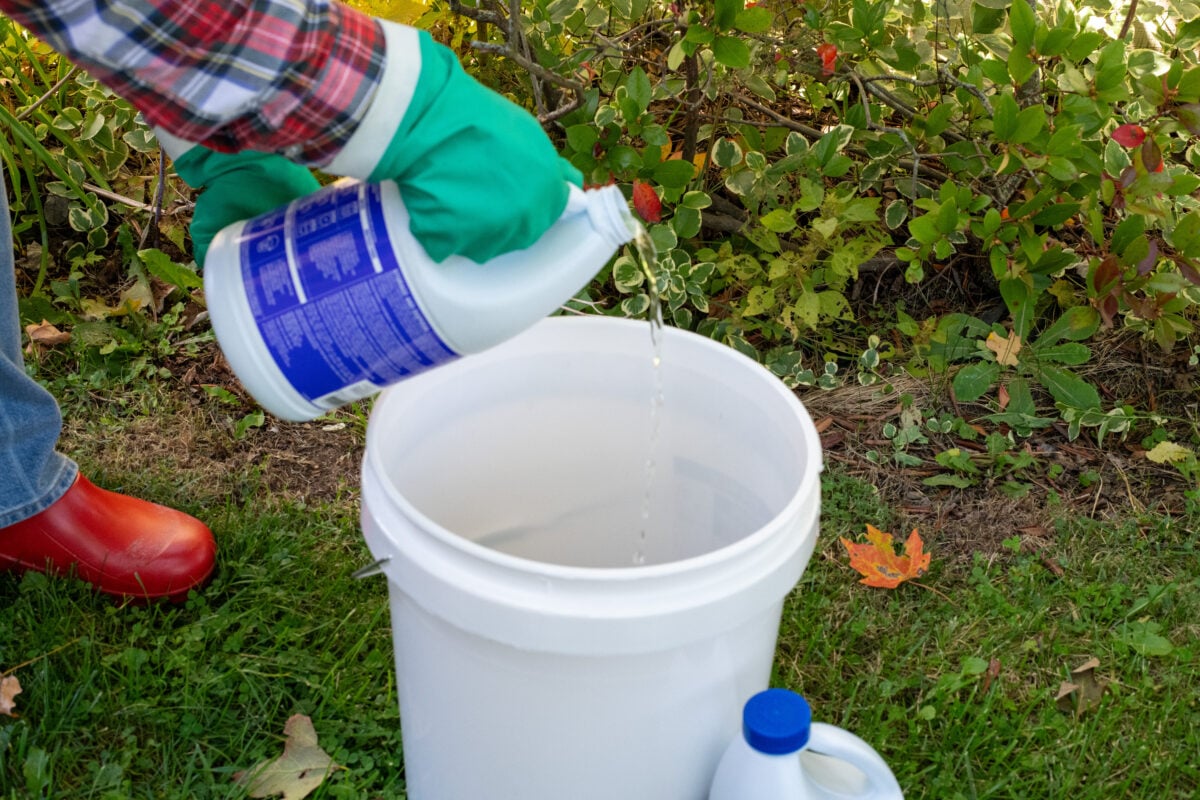
I poured the entire bottle of bleach into the bucket of pine cones, then filled the bottle with water and poured that in after for a 1:1 ratio. Be careful not to splash!
Give everything a gentle stir with the stick.
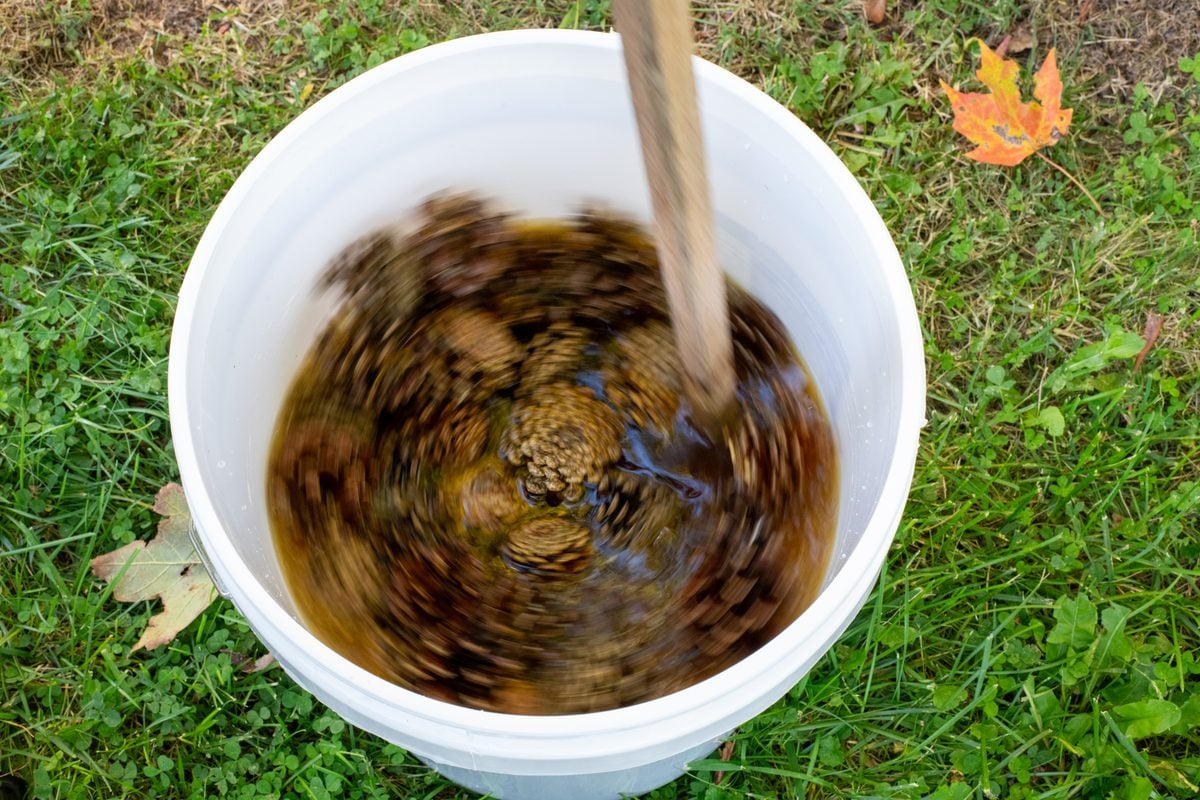
You’ll notice that the pine cones want to float and bob on the surface. To keep them submerged, fill a couple of empty milk jugs with water, or double-bag a couple of freezer Ziploc bags filled with water and put them on top of the pine cones to keep them submerged.
And Now, We Wait
You can soak the pine cones anywhere from 24-48 hours to achieve the desired lightness you want. Check them once a day.
Keep in mind they will also be a little bit lighter once they have dried.
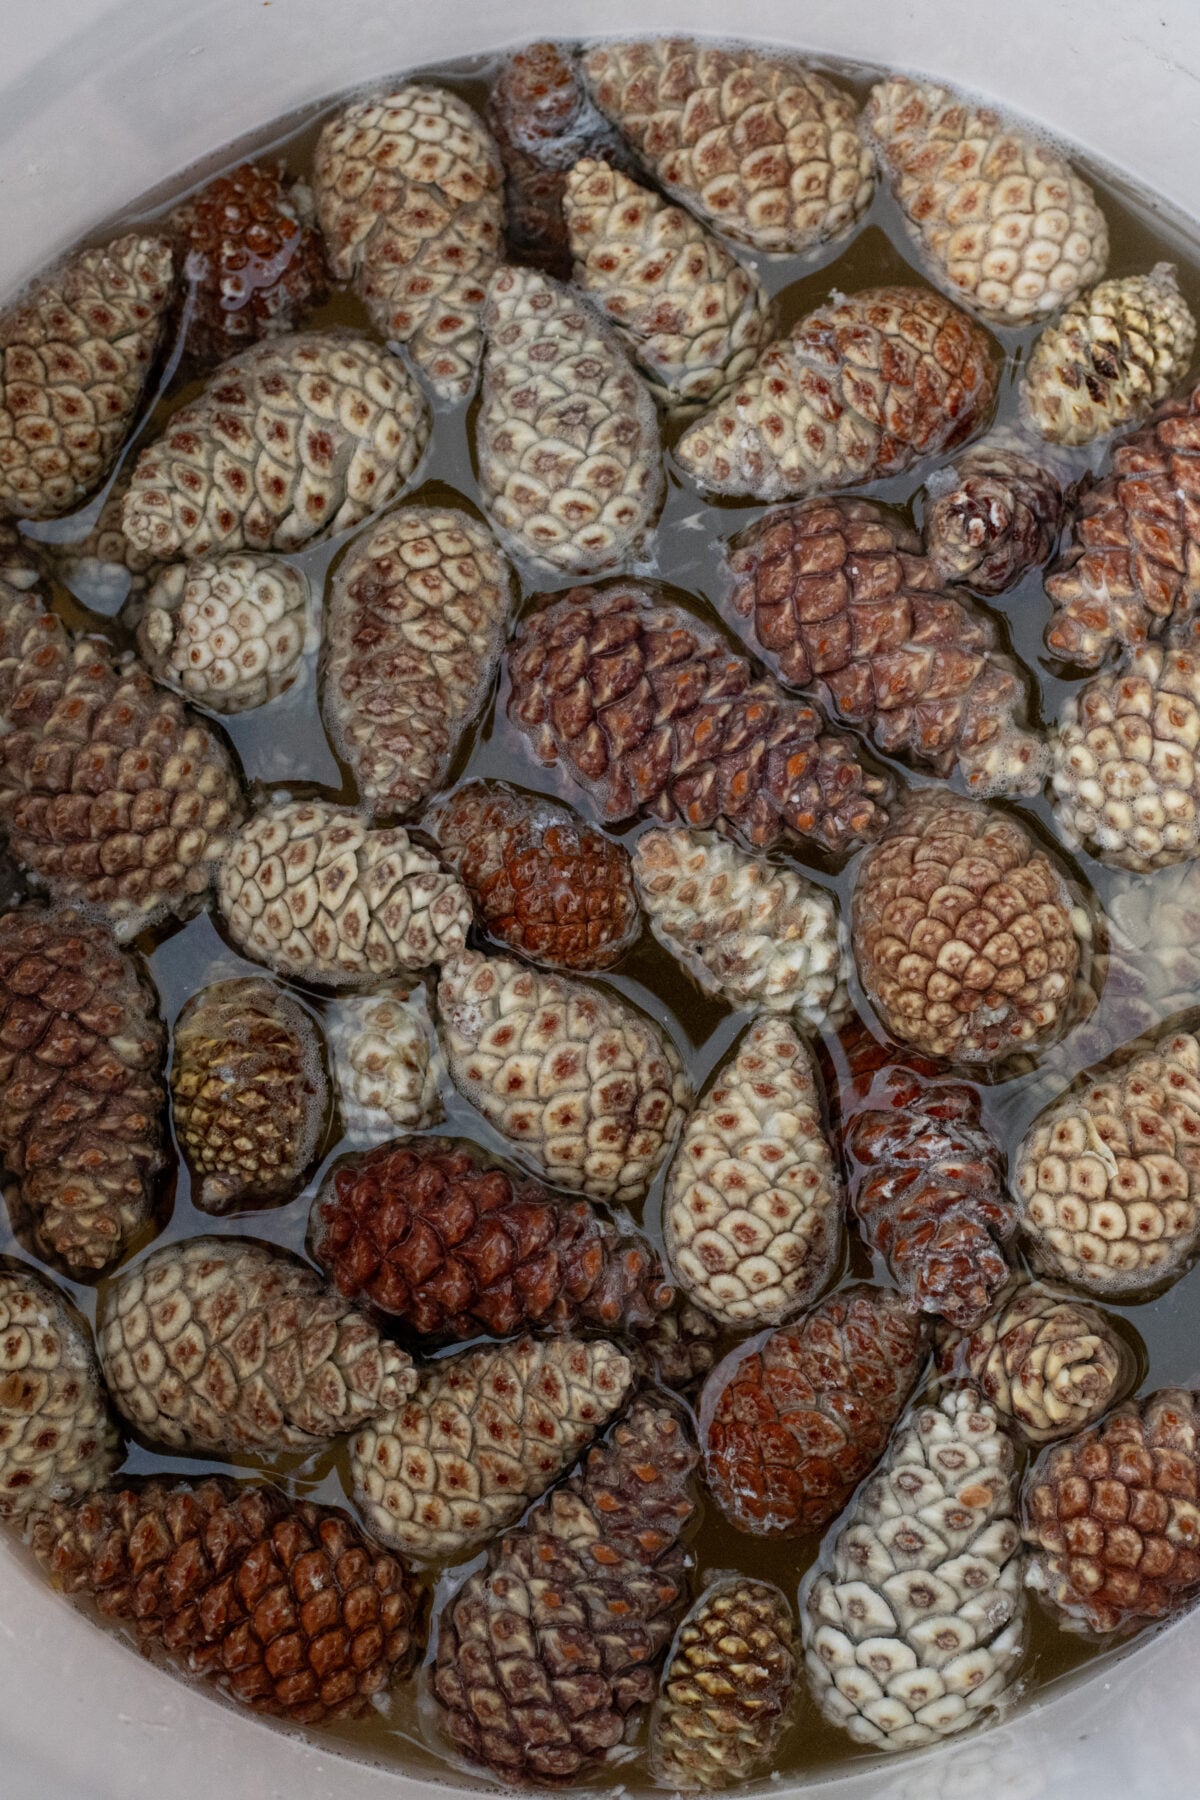
Rinse the lightened pine cones well in a bucket of plain water for about an hour, giving them a good swirl. (I let mine go the full 48 hours, so I dumped the first batch of water and did a second rinse as well.)
Now drain the water and place your damp pinecones out in the sunshine. You can leave them outdoors for a few days to a week to dry and open up again. Or, if you’re impatient like me (and don’t mind your kitchen smelling like the local YMCA), you can bake them in the oven at 200F until they are completely dry and open. (It took about four hours for mine to finish.) You will smell a faint chlorine smell, but that’s completely normal and safe. I opened a window while my cones dried and then burned a candle after they were done to get rid of the smell.
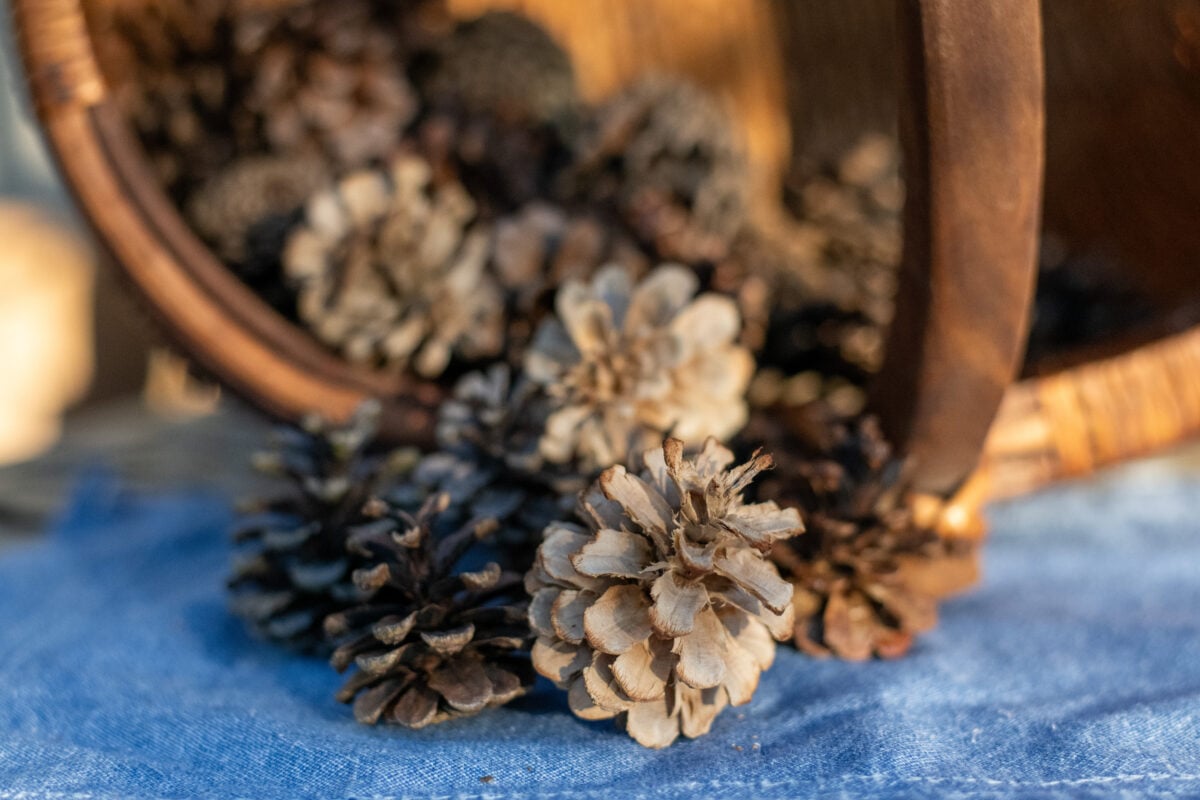
If you finish your pine cones in the oven, you’ll want to put them outside for a few hours so that any lingering chlorine smell will be broken down in the sun.
Now, it’s time to get creative!