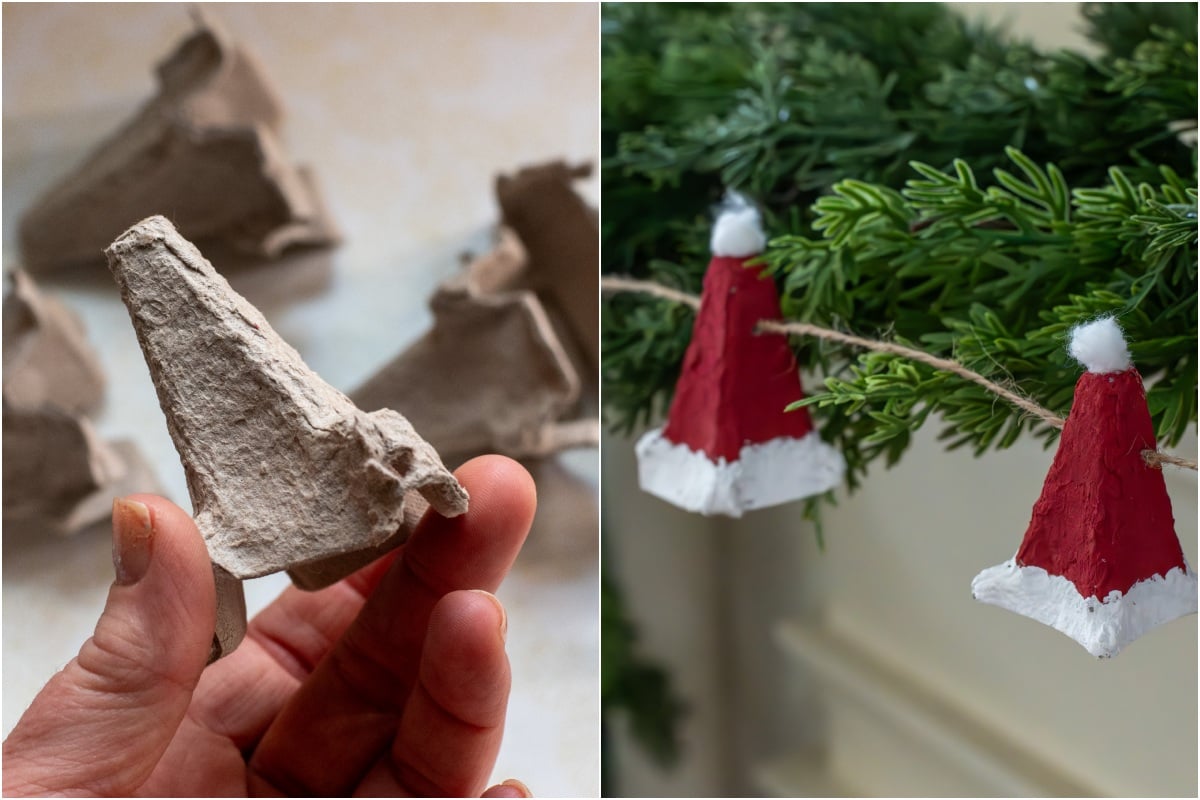
When I was a kid, egg cartons were made of polystyrene foam. We made all kinds of quirky crafts out of them. These days, egg cartons are more often made of recycled paper pulp, a kinder option for the planet, but no less crafty.
The cone-shaped dividers in these egg cartons can be used to make some seriously cute Christmas crafts. A quick study of their shape and it’s not hard to imagine snow-dusted toadstools, or a cheery, red garland of Santa’s hats, even the snow-capped roofs of a little village.
In this tutorial, we’ll be making Christmas bells to ring in the holidays. It’s pretty straightforward, but a few tips and tricks will give your bells a polished look, rather than a Pinterest fail.
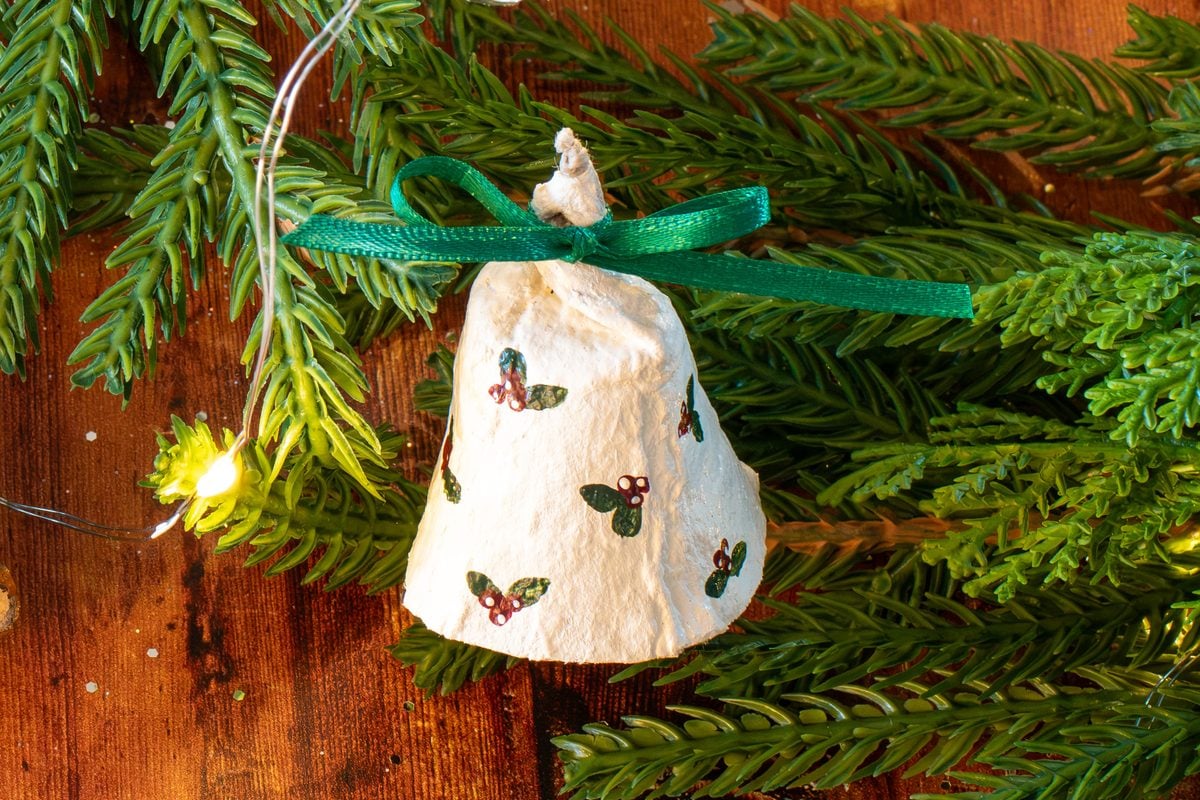
You can use the finished bells as ornaments or decorative gift tags. Make enough to string on a garland up your stair banister or to dot your holiday wreath this year.

I love that the general idea doesn’t have to be strictly Christmas. I plan on making a rustic winter garland of deep blue bells decorated with gold to hang up after all the Christmas decorations come down. It will be something bright and beautiful to enjoy during deep winter.
Grab your egg cartons!
Most paper egg cartons will yield five of the interior divider cones, so plan accordingly.
You don’t need much to make some seriously cute bells; you can use whatever you’ve got on hand. (But I rarely turn down a trip to the craft supply store.)

Just your standard crafting supplies are needed:
- sharp scissors
- a glue gun
- craft paints in holiday colors
- paint brushes
- some ribbon or pretty baking string
To give your bells a nice finish and make them look more artisanal and less homemade, consider adding a few bits and bobs: beads, jingle bells or tiny pine cones.
No special tools are needed, but because of how small the bells are, you might want a couple of these little guys here. I learned about these years ago when I started doing fancy manicures for myself at home. These make painting tiny dots (such as holly berries) a breeze!
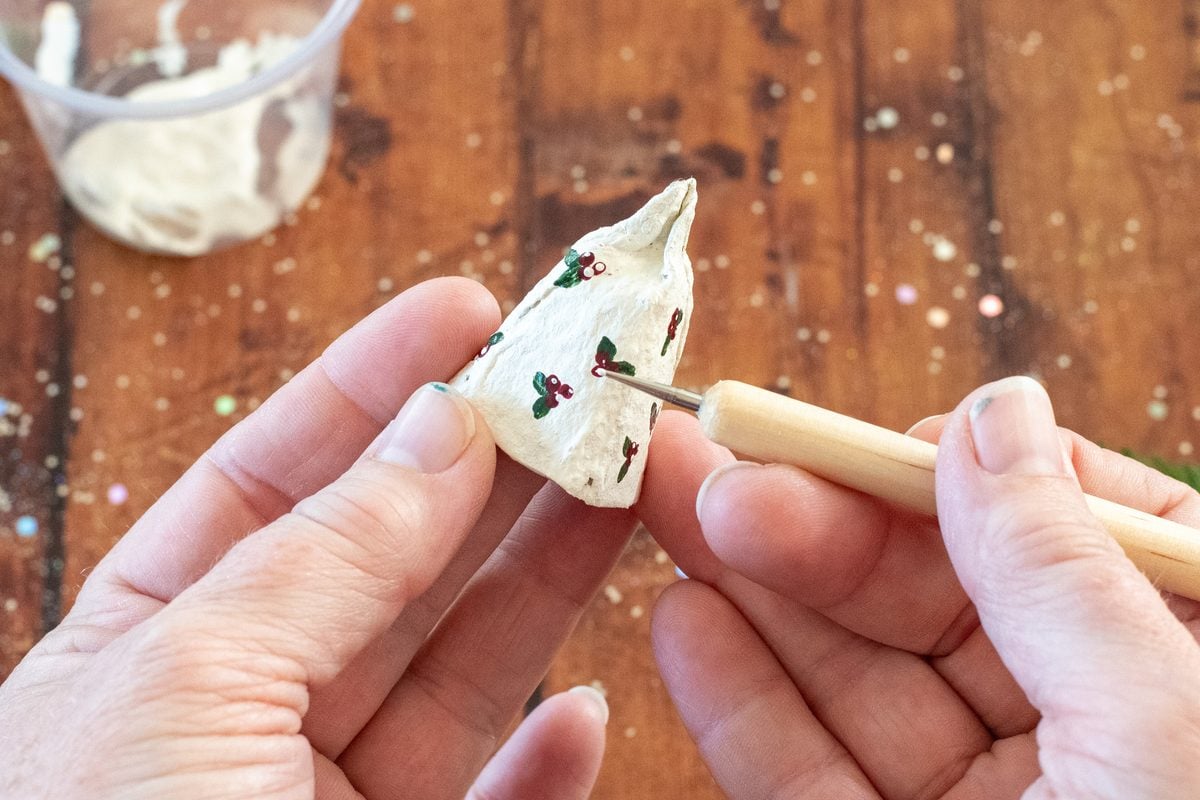
Let’s get started.
The first thing you will need to do is cut the egg carton to get to those dividers. Cut them apart and trim them so that the flared base is removed.
Turning Four-Sided Pyramids into Bells
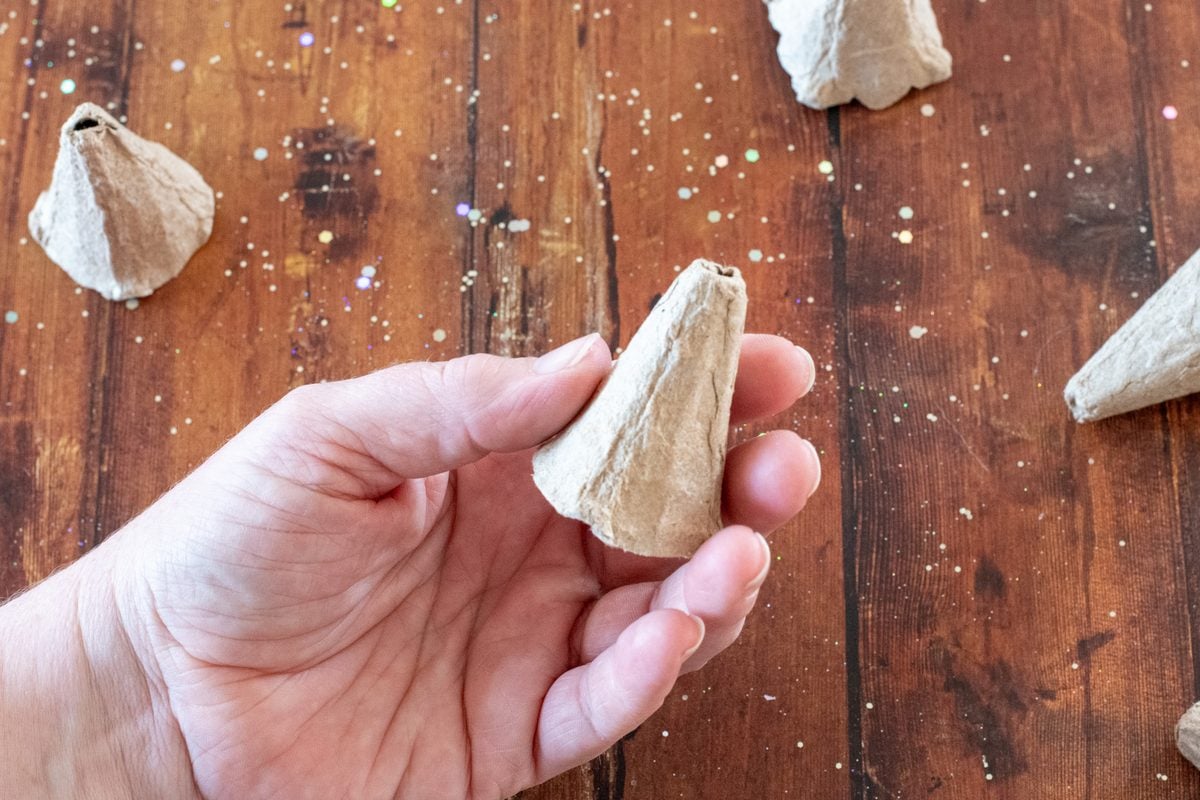
I found this craft through my aunt, who sent me a Facebook link. Right away, I knew that the photo of the craft was AI-generated because the little egg carton bells all had five to six sides to them, and because apparently the person making the craft had three hands. I too would love to have an extra hand for crafting, but that’s unrealistic.
The problem with the AI rendering is that the bells looked rounder, more bell-shaped. But in reality, egg carton dividers are four-sided, and simply cutting them and painting them as is left me with weird, pointy pyramids that looked nothing like a bell.
I fiddled with these for days trying to make them look more circular.
Right when I was ready to give up on this craft, I had a breakthrough. I spritzed the egg carton lightly with water, inside and out.
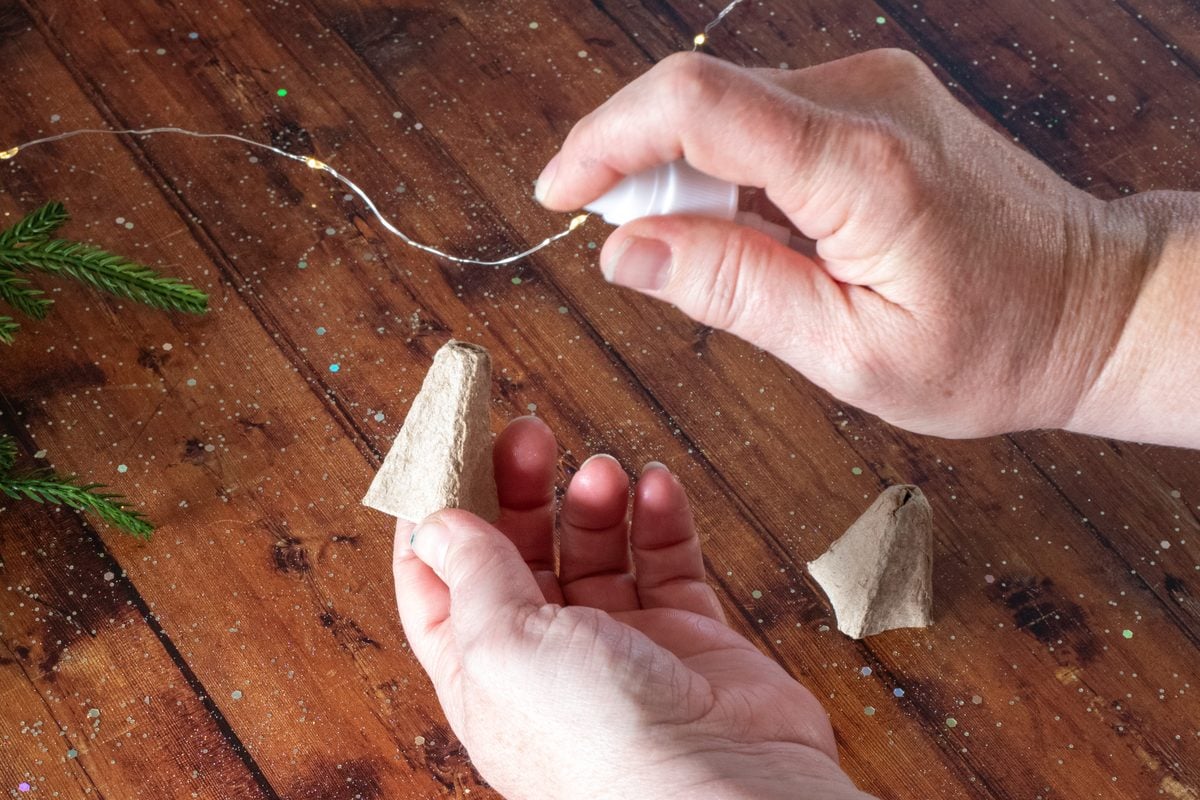
Then I gently pinched out the stiffness so I could make it slightly rounder. Finally, I placed the softened form over a taper candle stub, and pinched and pushed down the top to make it look like the handle at the top of the bell.
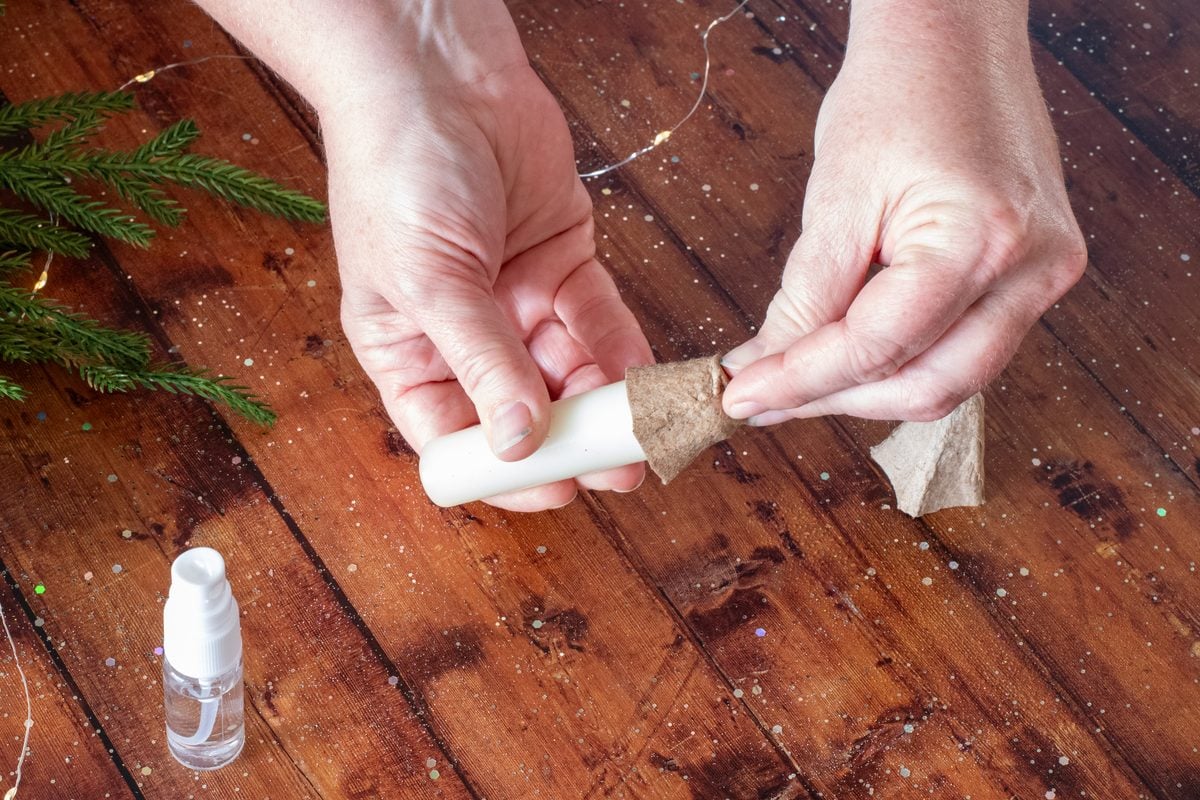
Voila! Suddenly it looked like a bell. (And way cuter than the AI-generated craft, if I do say so myself.)
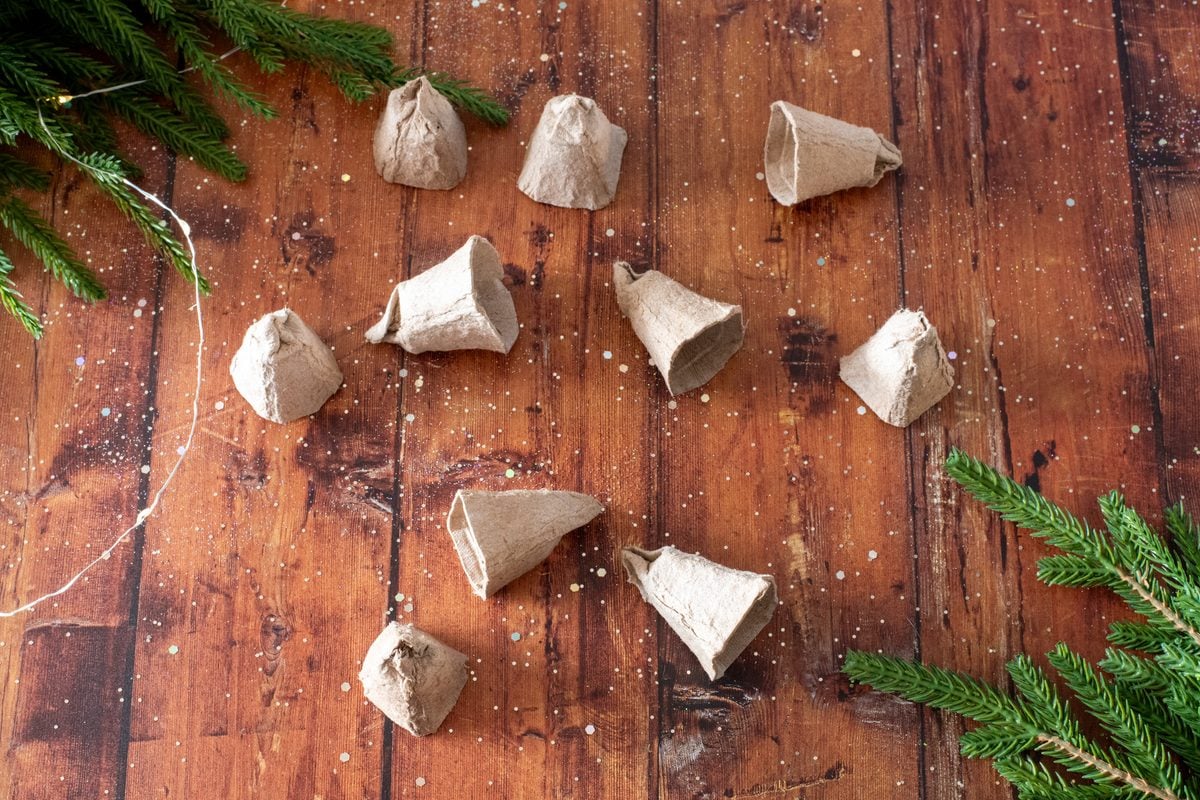
A couple of notes for transforming your egg carton dividers into mini paper bells:
- Go easy spraying the water. If you soak it, it will likely tear. You want to moisten it enough to make the paper malleable.
- Pinch it lengthwise all along the flat sides, almost as if you’re trying to add new creases to match the four corner creases.
- If you don’t have a taper candle, a larger wooden spoon handle, a tube of lip balm or mascara, or a similarly shaped and sized doodad will do the trick.
- If one of your bells tears while you’re shaping it, go ahead and let it dry and paint it anyway. It adds a bit of rustic charm.
- Let them dry completely before painting. Mine were dry within a half hour.
Let the Painting Begin
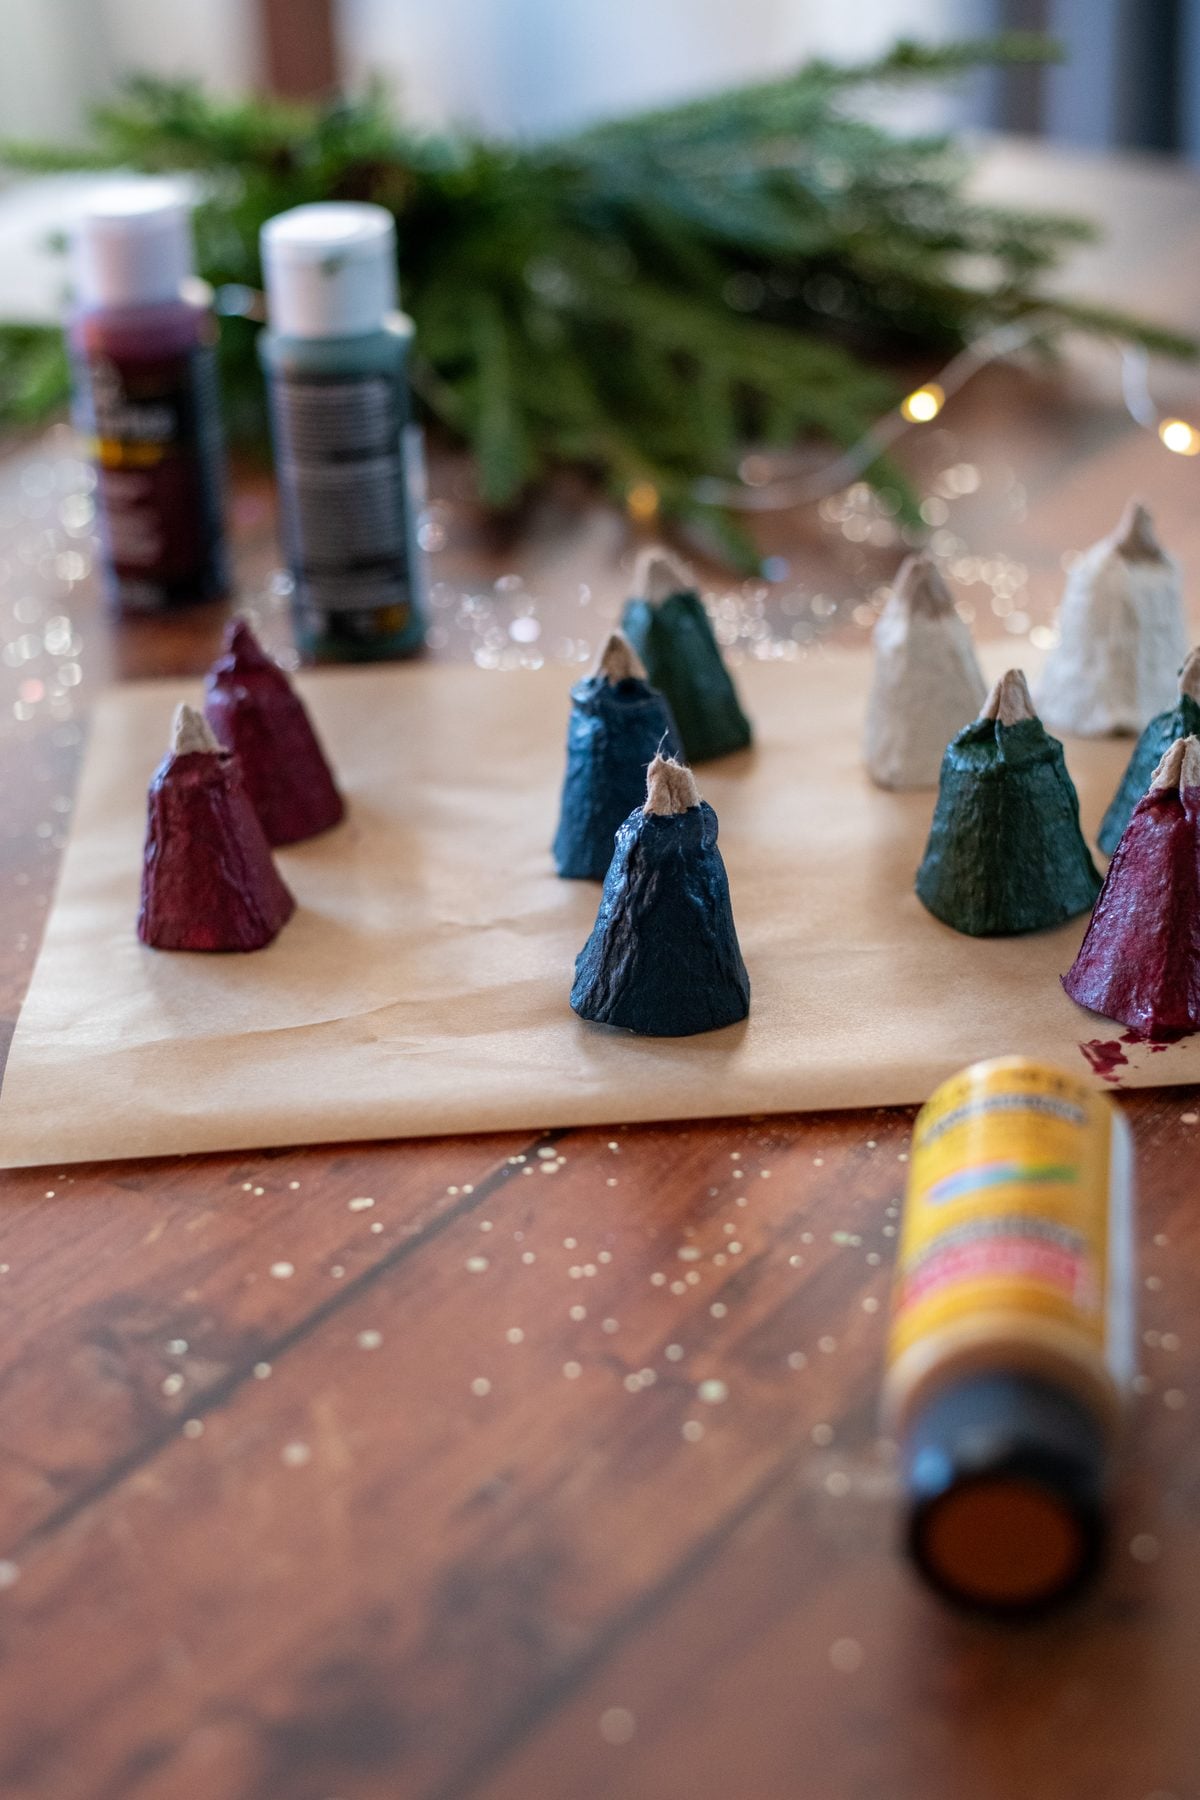
I kept mine pretty simple and stuck to Christmas colors, but do whatever floats your boat. I put two coats of the base color on and let them dry completely between coats before adding embellishments. Since our canvases are so small, keep your patterns and designs simple to keep the bells from feeling crowded or overdone. I found the simpler I kept them, the prettier they ended up being.
Adding a String
You’ll need to carefully poke a hole through the twisted top of the bell. If you’re making ornaments or gift toppers, or you want to add a little jingle bell, you can fish a large-eyed needle up through the twisted part, and it will still hold its shape.
For a garland, you’ll want to go horizontally. I recommend a good, sharp pair of small pointy scissors and a cutting board. Place the bell on its side on the cutting board, and use the scissor tips as an awl to firmly, but gently, punch a hole through the thick paper stem. You may need to flip it over and pierce it again on the opposite side. Be careful not to crush your bell. (Ahem, like I did.)
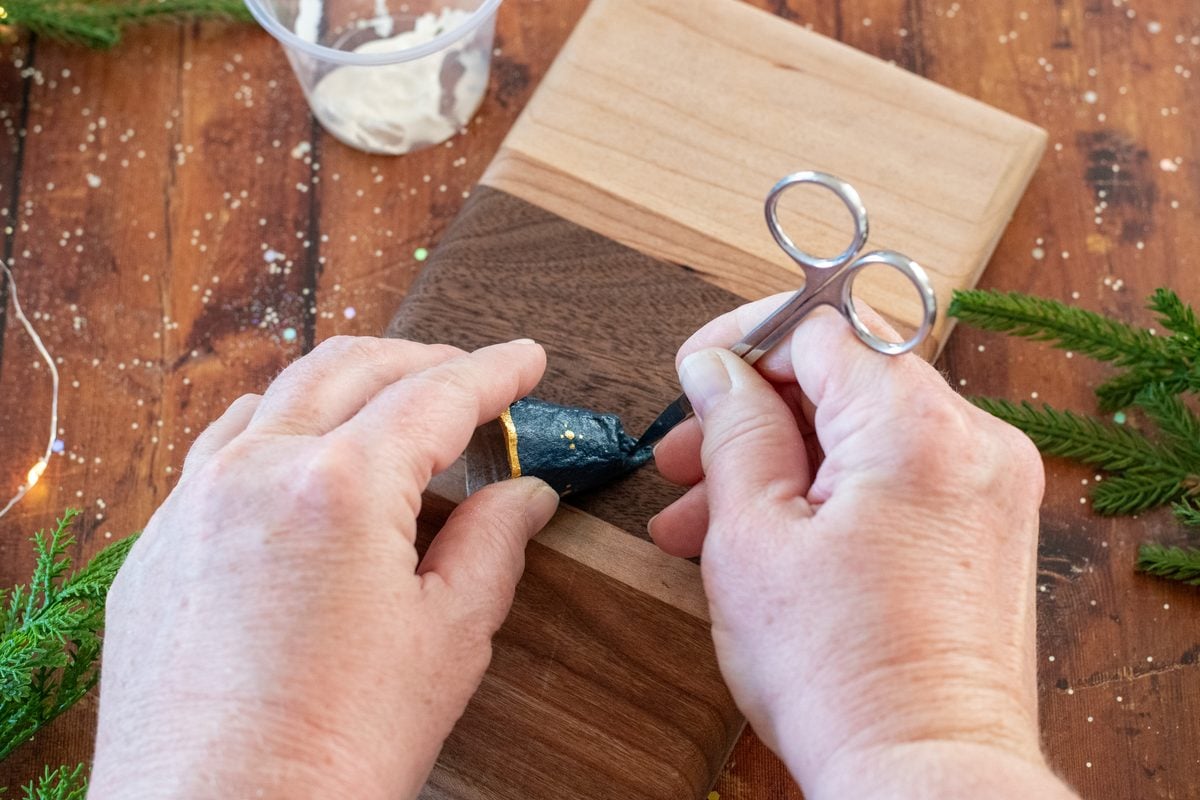
This was more work than going vertically, but I want that pretty winter garland for after the holidays, so that I will persevere!
Garnish

Now finish off your bells by hot-gluing ribbon or small embellishments to the top. Again, a little goes a long way; otherwise it looks crowded and too busy.
Unfortunately, like a lot of simple, inexpensive crafts, this one is addictive, and you’ll easily run out of egg cartons before you run out of ideas. It looks like the family will be living off of frittatas for the foreseeable future.