Even if you’re not the least bit crafty, you can make these easy and charming button Christmas tree ornaments.
You don’t need any special skills, and you likely already have everything needed to make them. But I warn you, once you make one, you’ll want to make another and then another. You can see where this is going.
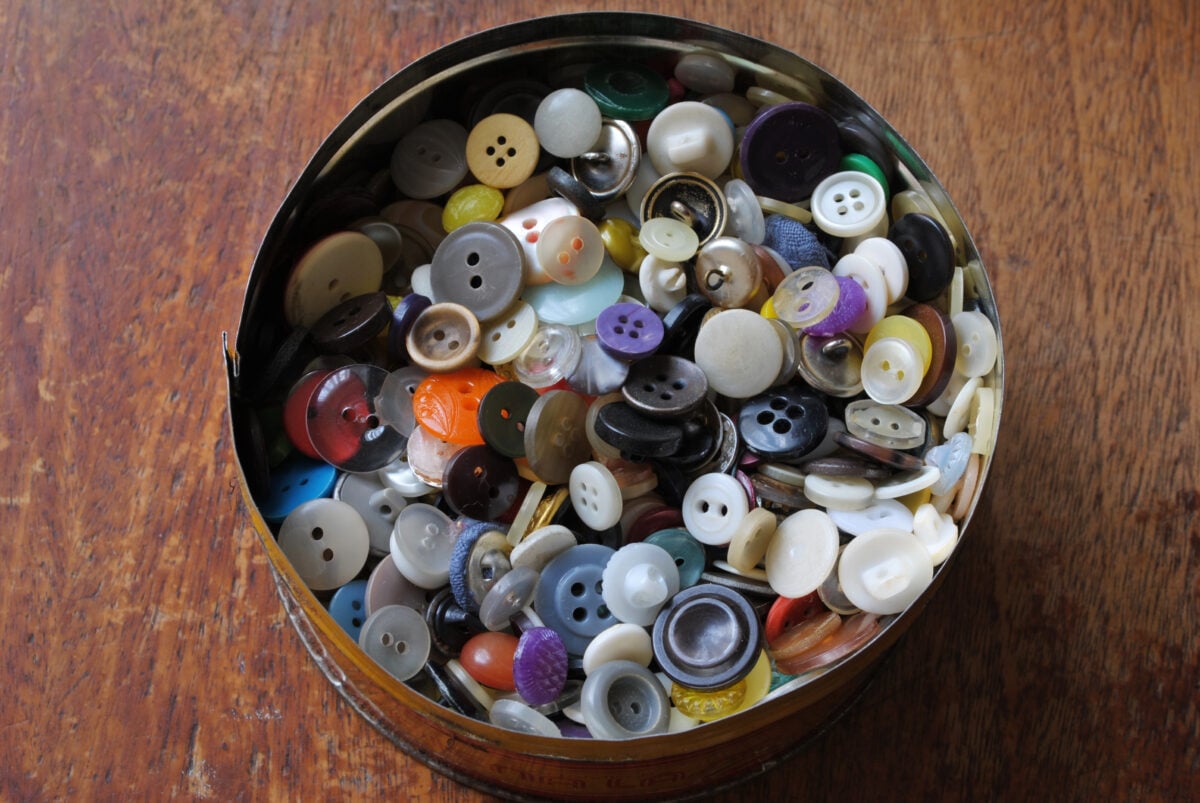
The Ubiquitous Button Tin
I am at my most craftiest at Christmastime. There’s something about this time of year that sends me diving into my craft closet for goodies. Do you feel the same? If so, then I’ll bet you have a tin filled with buttons. It seems we’ve all inherited a tin filled with buttons from a family matron. Bonus points if it’s a Royal Dansk cookie tin. IYKYK.
If you don’t have a button tin, you can easily source buttons at your local craft store, Walmart’s craft section and good ol’ Amazon. (You can find some great buttons in Christmas colors here.)
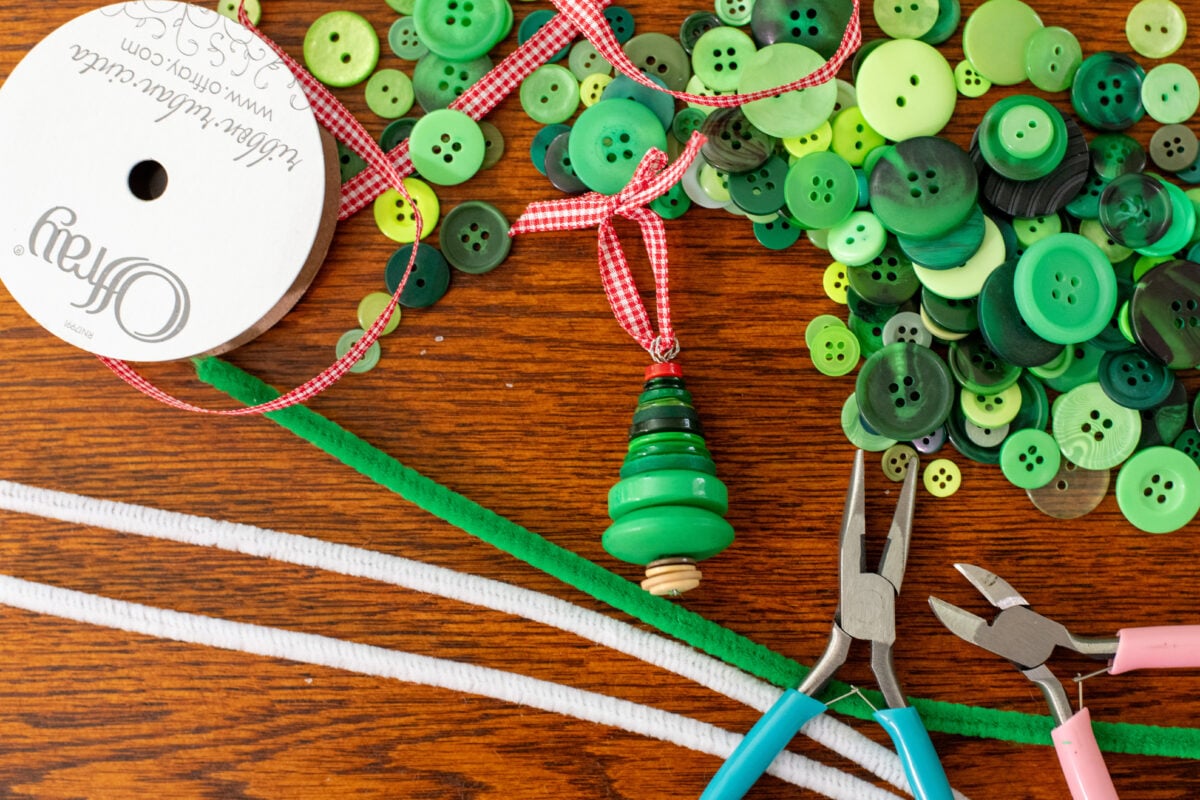
You’ll need roughly fifteen buttons for each ornament.
- Three to four brown buttons
- Nine to twelve green buttons
- One white, red, or yellow button for the tree topper
Along with buttons, you’ll need a 12” pipe cleaner, needlenose pliers, wire snips and ribbon.
A quick note about the tools needed: yes, you can use the ones in your toolbox, but if you do a lot of crafts, I highly suggest purchasing a set specifically designed for jewelry making. They come in handy for a wide range of crafts.
A few years ago, I bought four of these sets, so that whenever my family, friends, and I did crafts together, we wouldn’t have to keep waiting for someone else to finish using the tool we needed. They are affordable, well-made and get used all the time. Worth every penny each time I use them!
Instructions
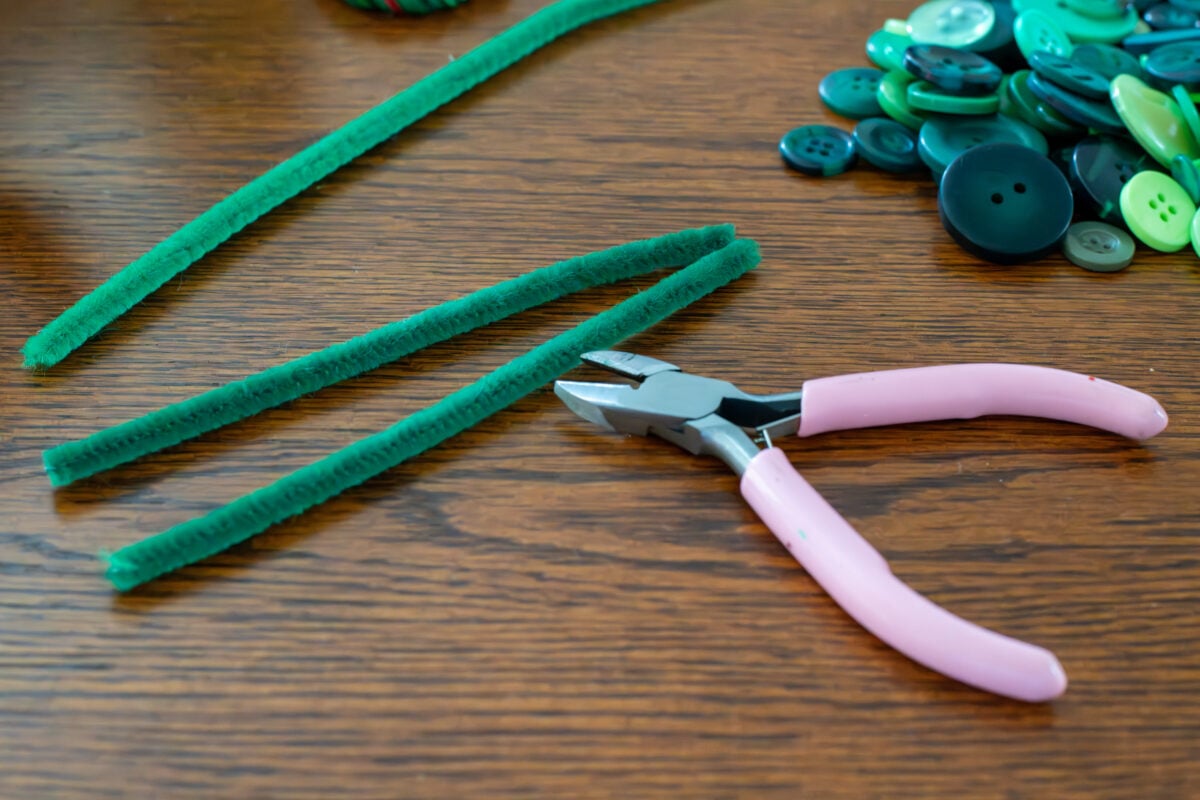
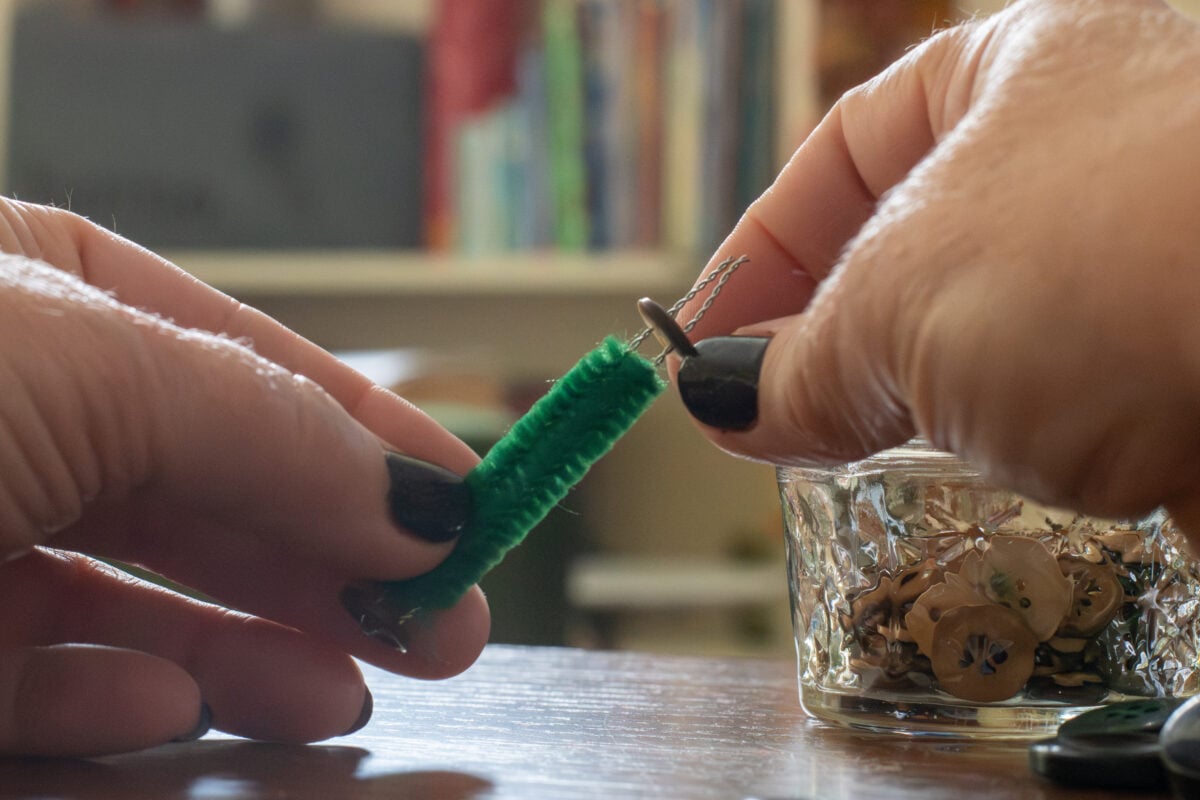
Using the wire snips, cut your pipe cleaner in half.
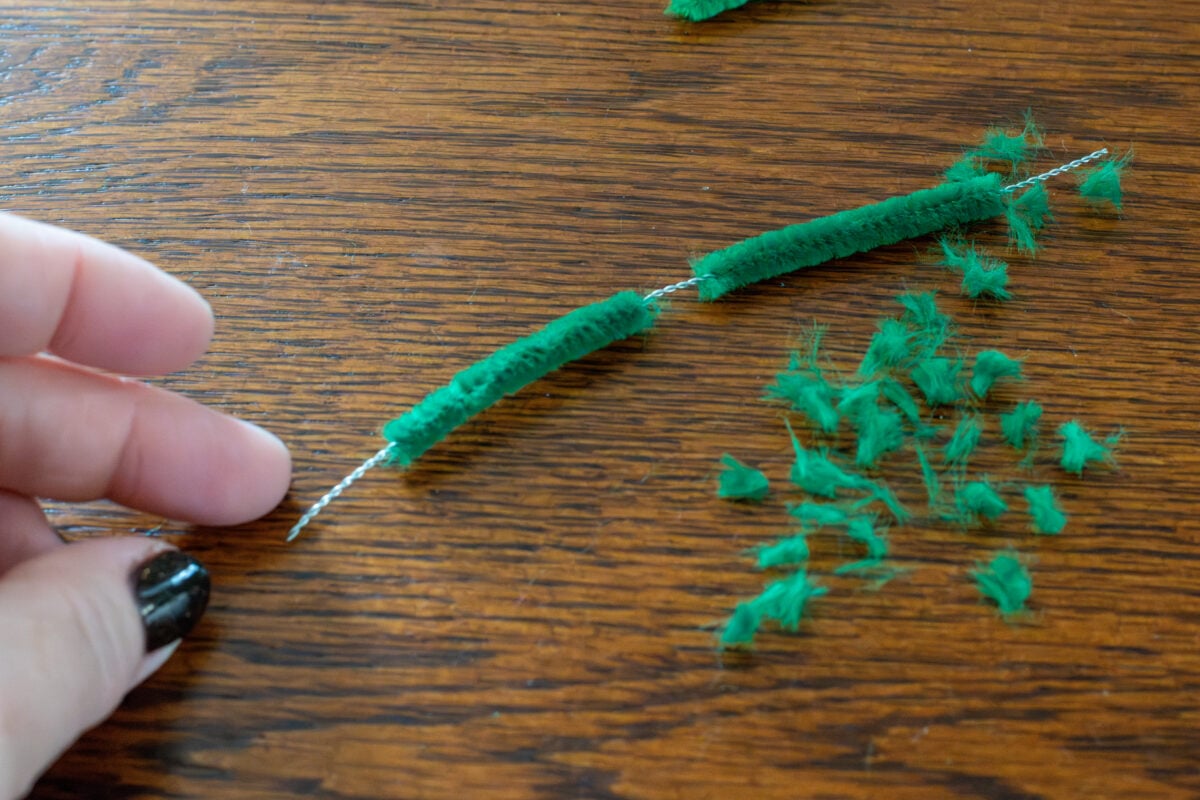
Using your fingers or the pliers, remove some of the fuzz from the pipe cleaner in the middle and at both ends. You won’t have fuzz sticking out of the bottom of the tree, and the exposed wire at the top will be bent into a loop to hang the ornament with.
Now, fold the pipe cleaner in half, but don’t pinch the crease tight. Starting with the brown buttons, make the trunk by threading them onto the pipe cleaner through the button holes.
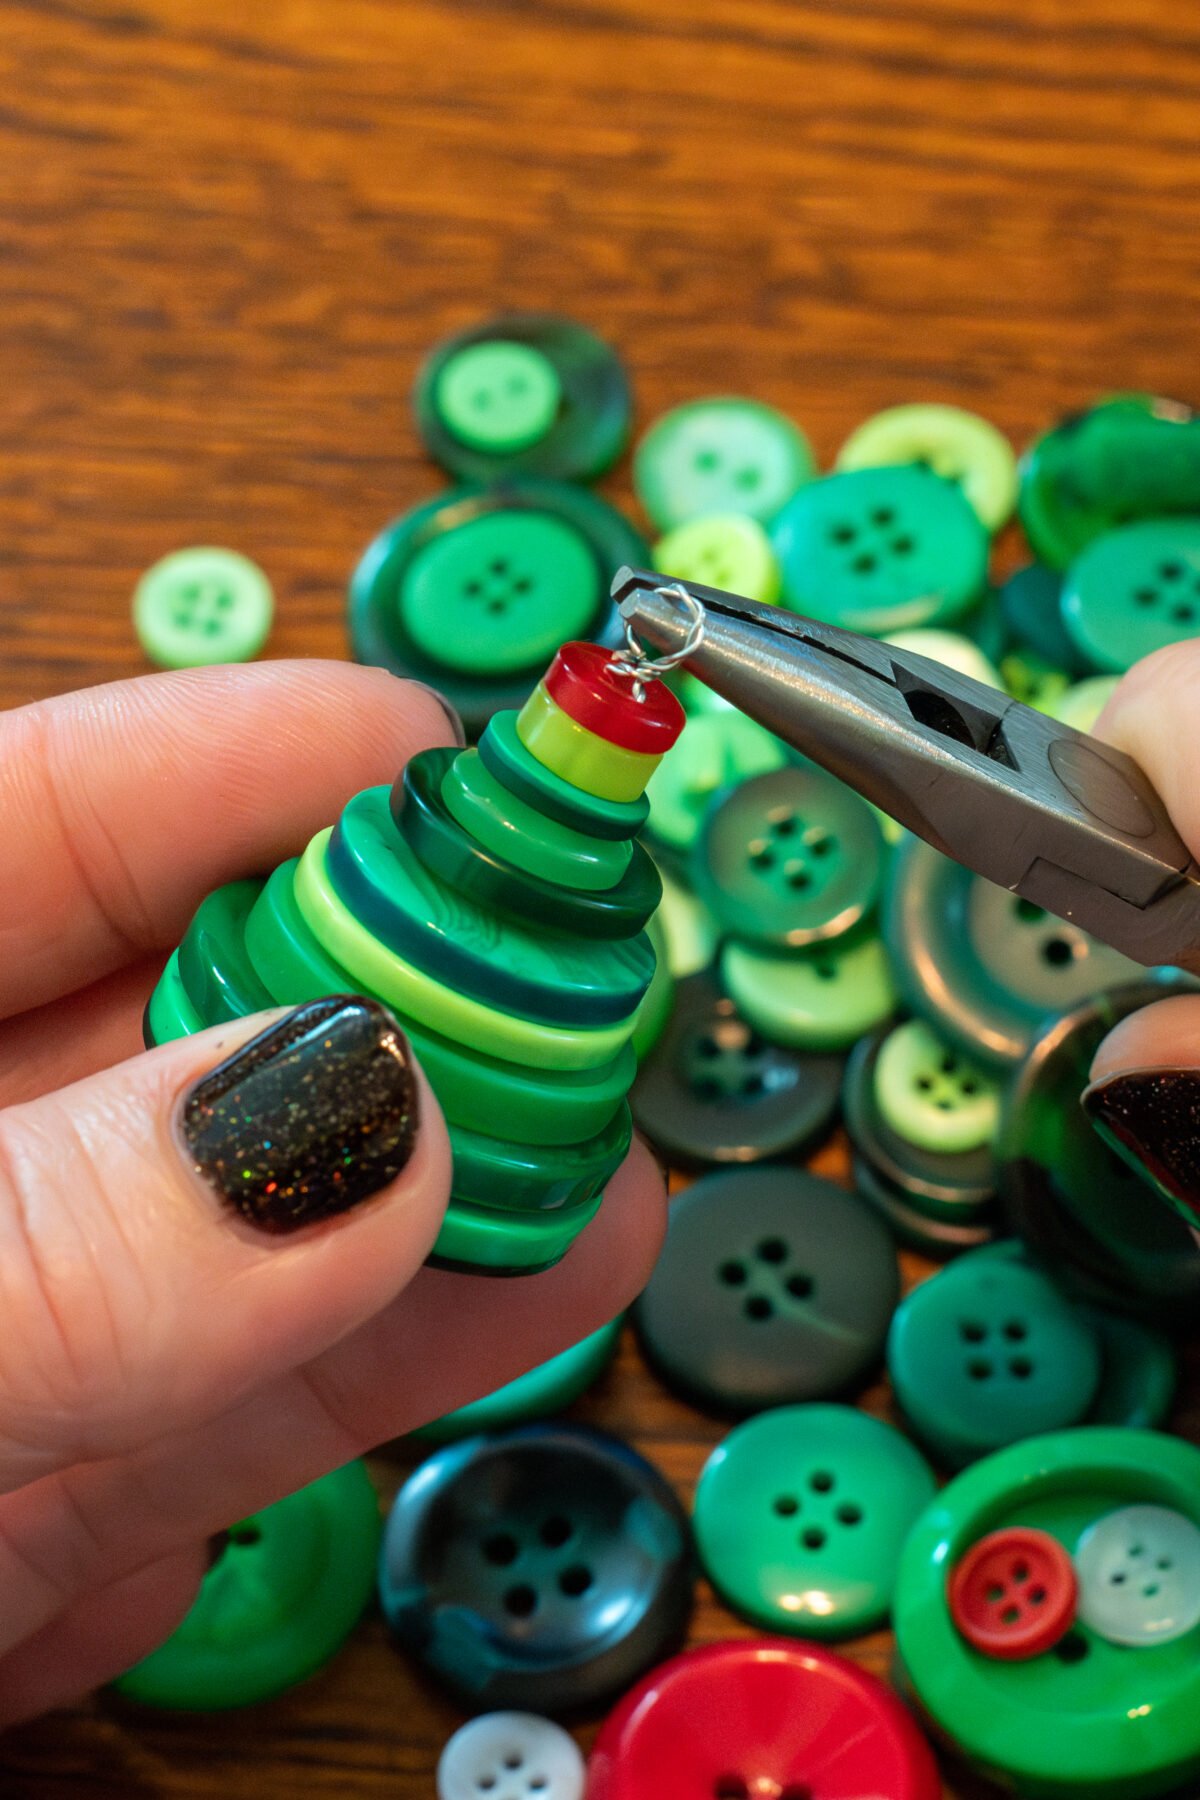
Continue with the green buttons and finally, finish off with a red, white or yellow tree topper.
Bend the two wires across the top, opposite each other. Using the needlenose pliers, wrap one wire around the base of the other. Take the wire snips and trim the wrapped wire close to the base of the other one, being careful not to snip through either.

Using needlenose pliers, or, if you have them, jeweler’s pliers, roll the wire into a loop.
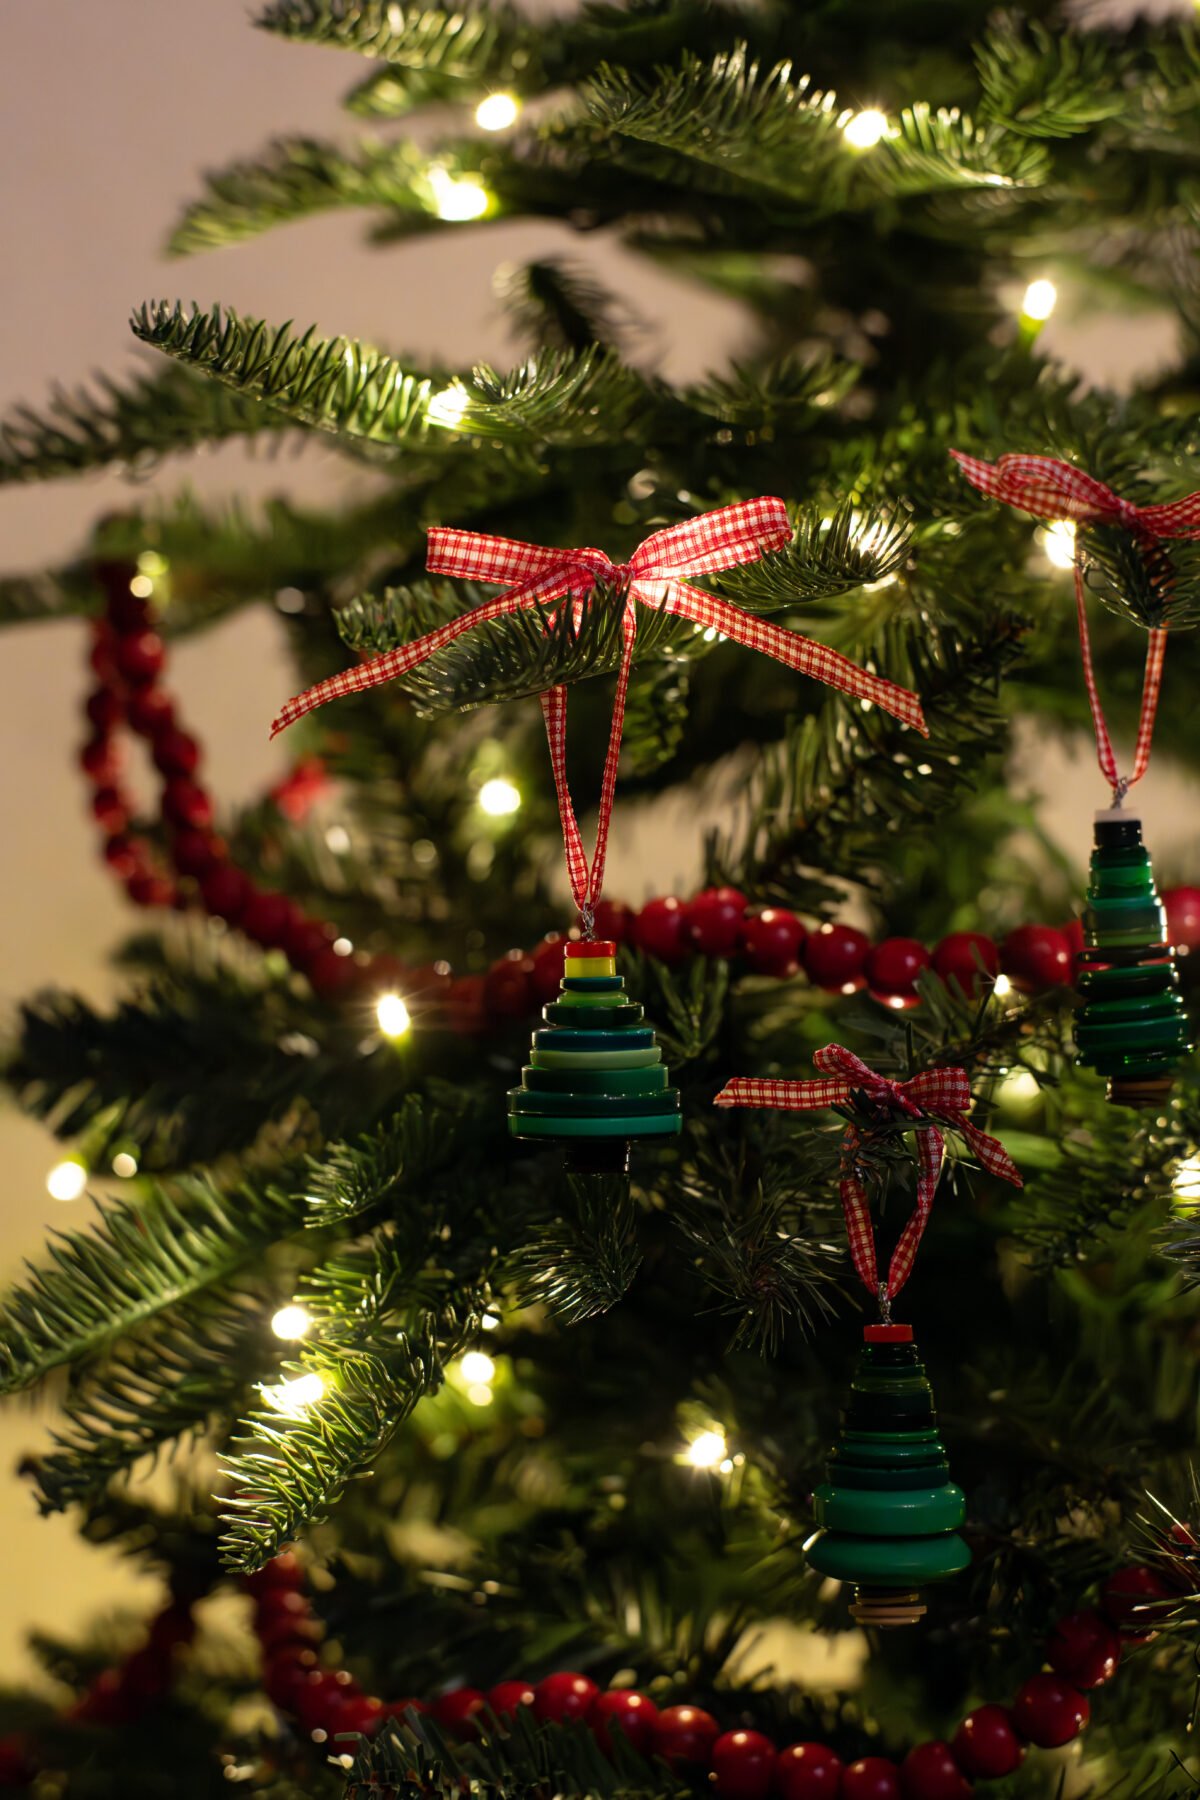
Cut a piece of ribbon roughly 12” long and thread it through the wire loop. Tie it into a bow, leaving space below the bow to hang the ornament.
Voila! Now make another one.
Some tips to make your ornaments really shine:
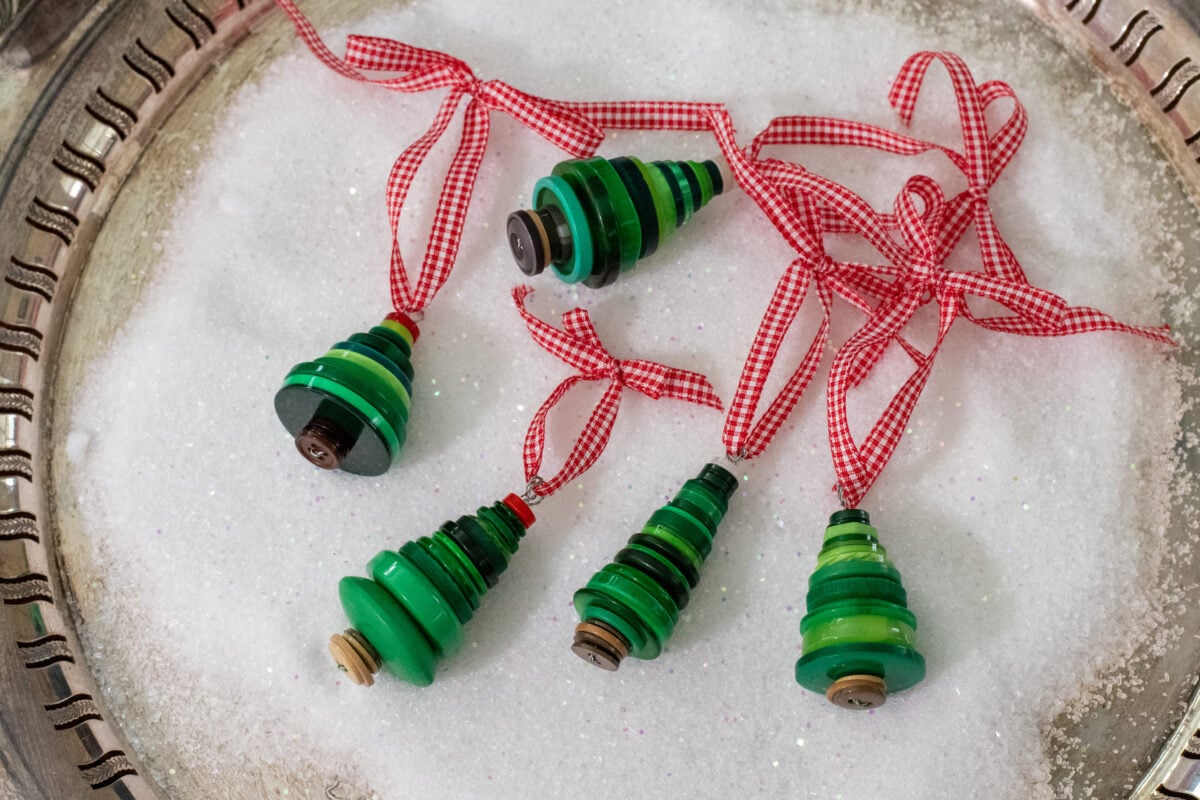
- Try to vary the shapes and sizes of the buttons. This will give your ornaments a whimsical, imperfect look.
- Make button ornaments of varying sizes. Try a tall skinny tree or a short chubby one.
- Choose buttons in differing shades of green. Mix it up! Add a light green next to a dark green button or a translucent button with an opaque button. You’ll achieve a homespun look.
- Opt for a red ribbon as it creates a nice contrast with all the green. There’s no reason why the ribbon can’t be a part of the charm.
These sweet little ornaments are easy enough for kids to make as well. (Obviously, it’s not an appropriate craft for children who still put things in their mouths.)
Because they are simple, inexpensive and quick to make, these button Christmas tree ornaments make the perfect group craft. Book Club, Girl’s Night, Bible Study – these ornaments are the perfect option.
Off the Tree Options
If you find you’ve gotten carried away and you’re now surrounded by a dozen little button trees, you can put them to use elsewhere.
- Place card holders for Christmas dinner – instead of twisting the wire into a loop, leave both pieces intact, but twist them once at the base of the top button. Slide a name card between the wires, and you have a cute little memento for place settings.
- Tie them onto packages for a little extra special gift wrap.
- Hang one from your rearview mirror in the car for a little festive car decoration.
- Thread a long piece of thin ribbon or satin cord through the loop for a cute little Christmas tree necklace.
Want more DIY Christmas ornament ideas? You’ll love these two ingredient baking soda dough ornaments that are endlessly customizable.
