If you’re hosting a holiday party, or just making holiday snacks with your family, you have to try these brownie bites. And not just because they’re adorable (although they are very adorable).
Unlike some other holiday baking projects, this recipe is not complicated and doesn’t require specialized baking tools. For the brownies, as long as you have the right size baking dish and a whisk, you shouldn’t have any trouble. For the Santa hat toppings, the strawberries do all the work for you.
Preparation and baking take less than an hour in total. The longest time you’ll spend is simply waiting for them to cool. From there, putting the brownie bites together is as simple as layering the ingredients—no technical expertise required.
I love to place a few of these on trays to serve at parties. They make great bite-sized hors d’oeuvres that balance fresh fruity flavors with rich chocolate taste. (Who said brownies don’t make good starters?) But if you have some baking supplies and a few strawberries handy, it’s an easy recipe to try that’s great for the whole family.
Brownie Recipes

I have tried many brownie recipes over the years with mixed results. While all the recipes I’ve tested generally produce what you could call brownies, not all of them produce brownies with the texture and rich flavor I prefer.
The triple chocolate brownie recipe below is one I have tried and tested, balancing sweetness with texture to create the perfect fudgy bite. I love this recipe and swear by it, but that doesn’t mean you have to follow it to make Santa hat brownie bites work.
If you have your own brownie recipe you love and use often, go with that. If you prefer to bake brownies from a box mix, that’s also an option. As long as you end up with a square of brownies you can cut into delicious bites to make your Santa hats, the way you get there is up to you.
If you really want to be adventurous, you can also use another base for this idea, like cake squares, cupcakes, or cookies. But I think brownies deliver the best flavor and texture that balances the tartness of the whole strawberries well.
Full Santa Hat Brownies

For those who don’t like strawberries or want a richer dessert option, there is another way to make brownies that look like Santa hats. Once you have the brownies baked and cooled, simply cut them into triangle shapes and use frosting or buttercream to add the decorations.
These aren’t as cute as the strawberry brownie bites but the effect is similar. The process is the same as making brownie Christmas trees, so you can follow that recipe instead, just changing the decorating part at the end.
What You’ll Need
If you bake often, you should have most of the ingredients you need on hand. In terms of baking materials, you’ll need two mixing bowls, a whisk, a spatula, and an 8″ x 8″ baking dish. That size is important as it creates the right thickness for the brownies. If you’re using a tray of a different size, the cooking time and consistency will be slightly different.
For The Brownies

The full list of ingredients is in the recipe card below, but here’s a breakdown of what’s included and why:
- Granulated sugar and powdered sugar. Almost two cups may seem like a lot, but brownies are meant to be sweet after all. If you want to reduce the sugar you can limit the powdered sugar, but that will impact the texture and shape of the end product.
- All-purpose flour. This is the foundation of the mix. Don’t use flours with any rising agents, they need to stay dense and fudgy.
- Cocoa powder. There is a lot of cocoa powder in this recipe (2/3 cup) so the taste is strong. Use a high-quality cocoa powder for the best possible taste.
- Chocolate chips. The chips add to the fudgy texture and create a wonderful sheen on the brownies. This triple chocolate recipe includes equal parts dark, milk, and white chips, but you can also choose your favorites and stick with that.
- Sea salt. Just a pinch—a must-have in any recipe.
For the liquids, you’ll need:
- 3 large eggs
- 1/2 cup vegetable oil
- 1/4 cup melted butter
- 1 teaspoon vanilla
For The Toppings

To turn these delicious brownies into Santa hats, you only need three things: strawberries, cream, and powdered sugar. Since strawberries come in all shapes and sizes, it’s better to get a bigger batch so you can select the most hat-like ones for your brownie bits. The cream and powdered sugar will be whipped together to create the fluff on the bottom and tops of the hats.
Make Santa Hat Brownie Bites

The first step in making Santa hat brownies is baking the brownies themselves. Grab all your ingredients and materials to make sure you’re prepped before you begin mixing.
Preheat your oven to 350°F (180°C) and grease your 8×8 baking tray with butter or cooking spray in preparation for the baking process.
Step 1: Mix the Ingredients

In a large bowl, combine all of the dry ingredients: sugar, flour, cocoa powder, chocolate chips, and salt. It should be evenly mixed with no lumps. If you see clumps of flour or cocoa powder while you’re measuring, sift those ingredients first to eliminate any powder pockets after baking.
In a separate bowl, whisk together all the wet ingredients: eggs, oil, butter, and vanilla essence. Whisk until all the liquids are completely combined.
Slowly add your dry ingredients over the wet ingredients, mixing as you go. Continue to mix until everything has just combined together—don’t overmix. The batter should be thick and a rich chocolate brown color.
Step 2: Bake the Brownies

Grab your prepped baking tray (greased or lined with parchment paper) and spoon the mixture inside. Using a spatula, spread out the batter so it is an even thickness with a smooth flat level on top. If there are areas where the thickness is different, it will cook unevenly.
Place the tray in the preheated oven and bake for 22-30 minutes, depending on how fudgy you want them to be and how quickly they cook. Don’t worry if they aren’t completely set in the middle, they will continue to cook slowly once they are out of the oven. You’re better off underbaking than overbaking as the edges burn if you leave them in too long.
Step 3: Allow to Cool
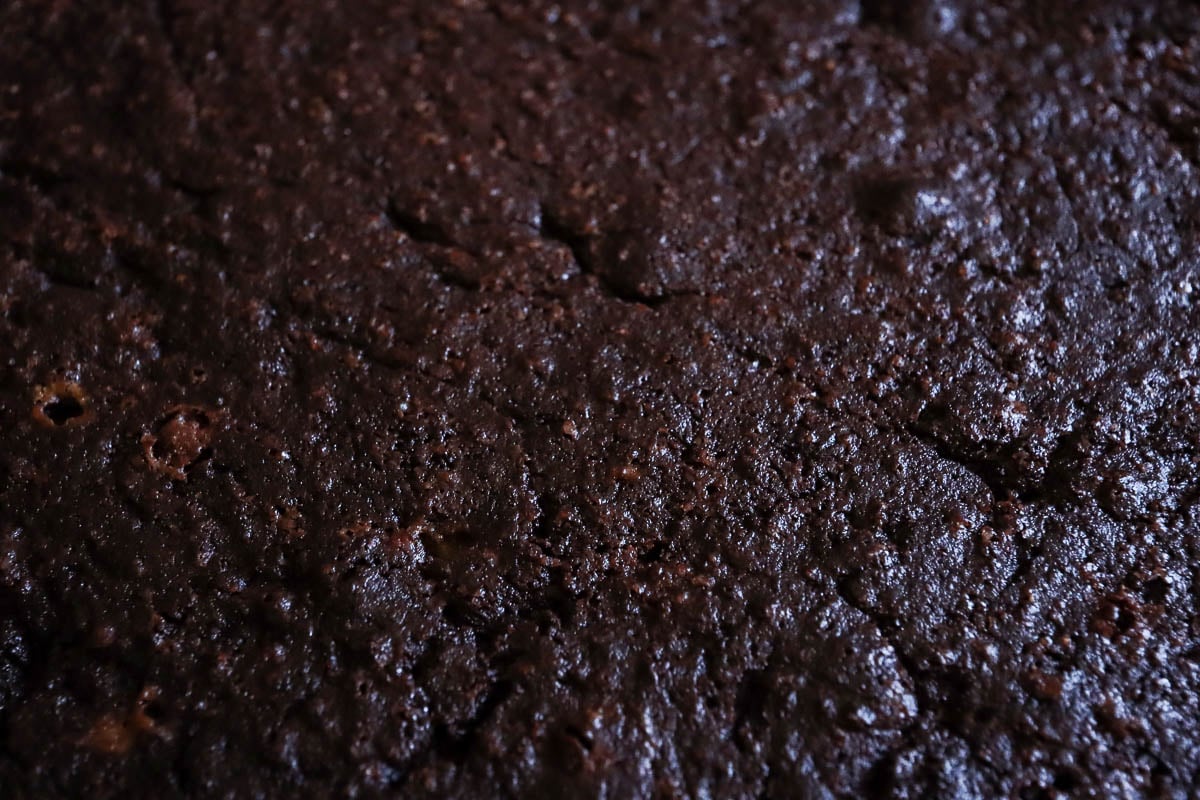
Leave the brownie square in the baking dish to cool completely.
While you’re waiting for the brownies to cool, prepare your cream mixture by whisking whipping cream with half a cup of powdered sugar. Whisk by hand or with a mixture until soft peaks form. It needs to be stiff enough to hold its shape after piping to stop the cream from melting on top of the brownies.
Step 4: Cut Circular Shapes

Once your brownie square has completely cooled, remove it from the baking dish. Use cookie cutters, a knife, or the end of a glass to cut circular shapes out of the square. The shapes should be slightly larger than the tops of your strawberries, but not so large that they will look out of place.
Gently remove the bites from the square and set them aside for decorating. Handle them gently to avoid any crumbling that can impact the final look.
You can eat the pieces that are leftover from cutting out your squares or break them down to make adorable edible pinecones.
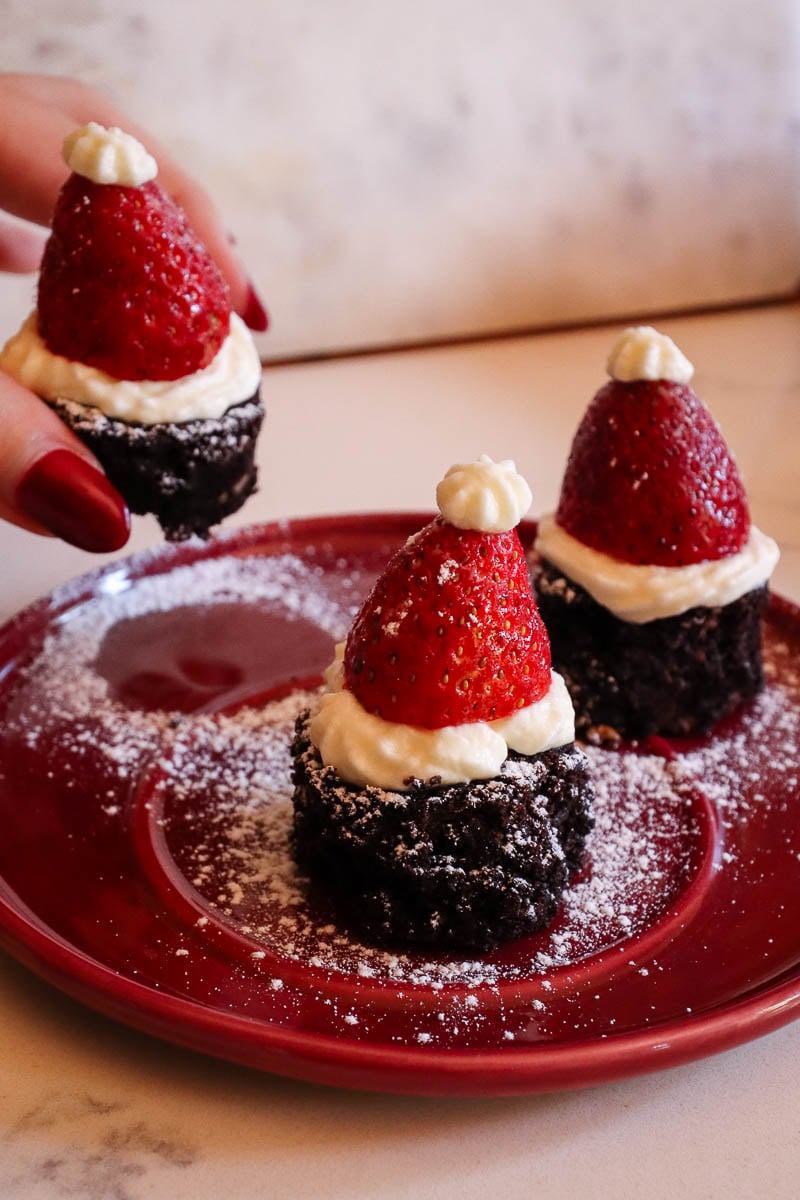
Step 5: Put Them Together

Finally, it’s time to assemble your Santa hats. Although they are easy to move around, I like to do this on the serving tray to avoid any mess later on.
Fill a piping bag with your whipped cream. Pipe a generous amount on the top of the brownie bite to form the base of the hat. Cut the tops off the strawberries and place them upside down flat onto the cream. Then, add one final dollop of whipped cream to the top of the strawberry. Dust the whole tray with powdered sugar for a snowy finish before you’re ready to serve.

Santa Hat Brownie Bites
Equipment
- 1 8" x 8" baking dish
- 2 Mixing bowls
- 1 Whisk
- 1 Spatula
- 1 piping bag
- 1 electric mixer
Ingredients
- 1 cup granulated sugar
- 1/2 cup powdered sugar
- 1/2 cup all-purpose flour
- 2/3 cup cocoa powder
- 1/4 cup milk chocolate chips
- 1/4 cup white chocolate chips
- 1/4 cup dark chocolate chips
- 1/2 teaspoon sea salt
- 3 large eggs
- 1/2 cup vegetable oil
- 1/4 cup melted butter
- 1 teaspoon vanilla
To make the hats
- 1 punnet strawberries
- 1 cup whipping cream
- 1/2 cup powdered sugar
Instructions
- Preheat the oven to 350°F.
- Grease an 8″ x 8″ baking dish with butter or cooking spray.
- Combine the dry ingredients into a mixing bowl. In a separate bowl, whisk all the wet ingredients together.
- Slowly add the dry ingredients to the wet mixture, stirring as you go. Mix until just combined.
- Fill the greased baking dish with your brownie mixture and spread out evenly. Use a spatula to level the top.
- Bake for 22-30 minutes, depending on how fudgy you want them to be. Leave to cool completely.
- Using cookie cutters or a knife, cut circular shapes into the square just larger than the strawberry tops.
- Whip cream and powdered sugar together until the mix forms soft peaks. Transfer to a piping bag.
- Pipe whipped cream onto the top of each bite. Place a strawberry upside down and add another dollop of cream on top.
- Dust with powdered sugar to serve.