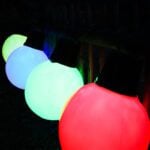

Have you seen those massive outdoor Christmas lights popping up on your social media feeds? Like other trends (we’ve already covered the Grinch cocktails and baking soda ornaments), this one has been around for a while but is doing the rounds again this year.
And I’ve been obsessed ever since I spotted them.
The problem is that the tutorials I’ve seen for these lights require quite a lot of work. Between collecting plastic bottles and disassembling string lights, it seemed like a little too much prep for my impatient mind. I wanted something easier; something I could set up within an hour or two, max.
Luckily, I found my answer while shopping online: LED light-up beach balls. They’re self-contained, also weather-proof, and so much easier to use. Best of all, the effect at night is just like regular-sized Christmas lights (arguably better than the soda bottle lights). And when you’re done, simply deflate the balls and store them away for next season.
Why It Works

I find traditional outdoor lights a hassle. Managing extension cords, tangled wires, and limited placement options (since you’re stuck finding an outlet). With light-up LED beach balls, all of these problems disappear.
You’re free to set them up anywhere, with no plugs, no heavy battery packs, and no awkward cables spoiling the view. If you’re placing them far from your home, no problem—simply string them up, and the battery-powered LED packs will do all the work. And if you change your mind about where they belong, just pick them up and move them.
These beach balls are designed to handle water, saving you the worry that comes with more delicate decorations or non-outdoor-friendly DIYs.
The only thing you may need to consider is the cold if you live in a particularly chilly region. But when it comes to rain, if they get wet, just let them dry. It won’t affect the LEDs inside.
Most DIY giant light projects I’ve seen require extra paint jobs, fiddly wiring, and more cutting and tools than I prefer. With this DIY, the LED lights are popped into a slot at the end of the ball to light them up, shining through the material. You never have to stress over getting an even paint finish or figuring out a complicated setup.
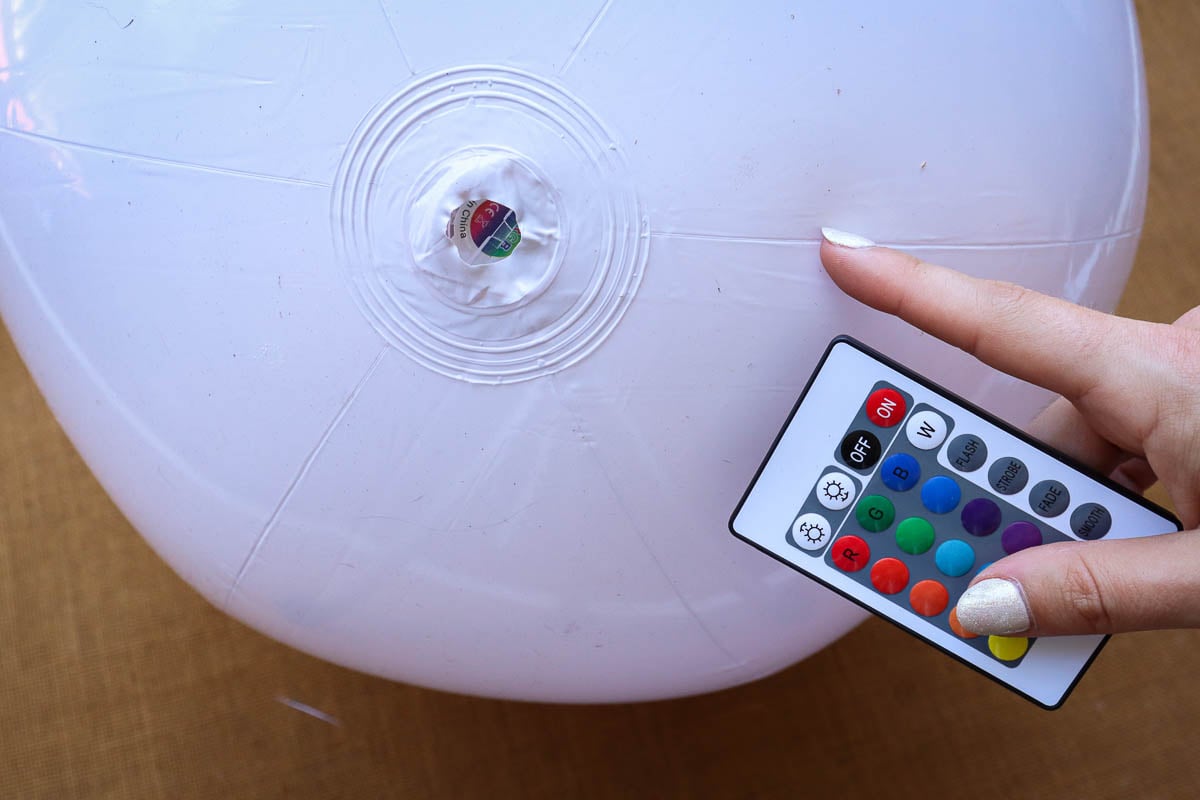
Best of all, these lights can do more than just glow—they can twinkle, fade, or shift through a rainbow of colors, just like regular Christmas lights. Each ball can have a different color, or you can coordinate them for a perfect holiday palette that matches your other decorations.
Materials
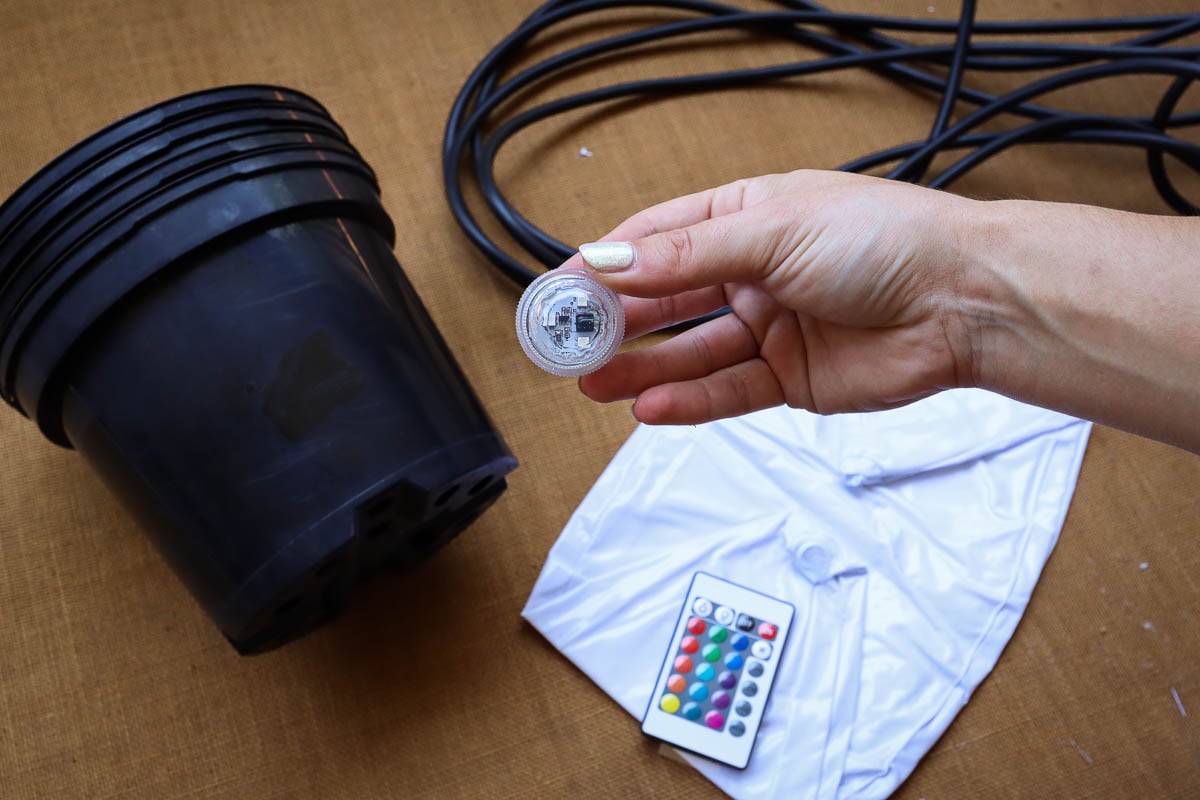
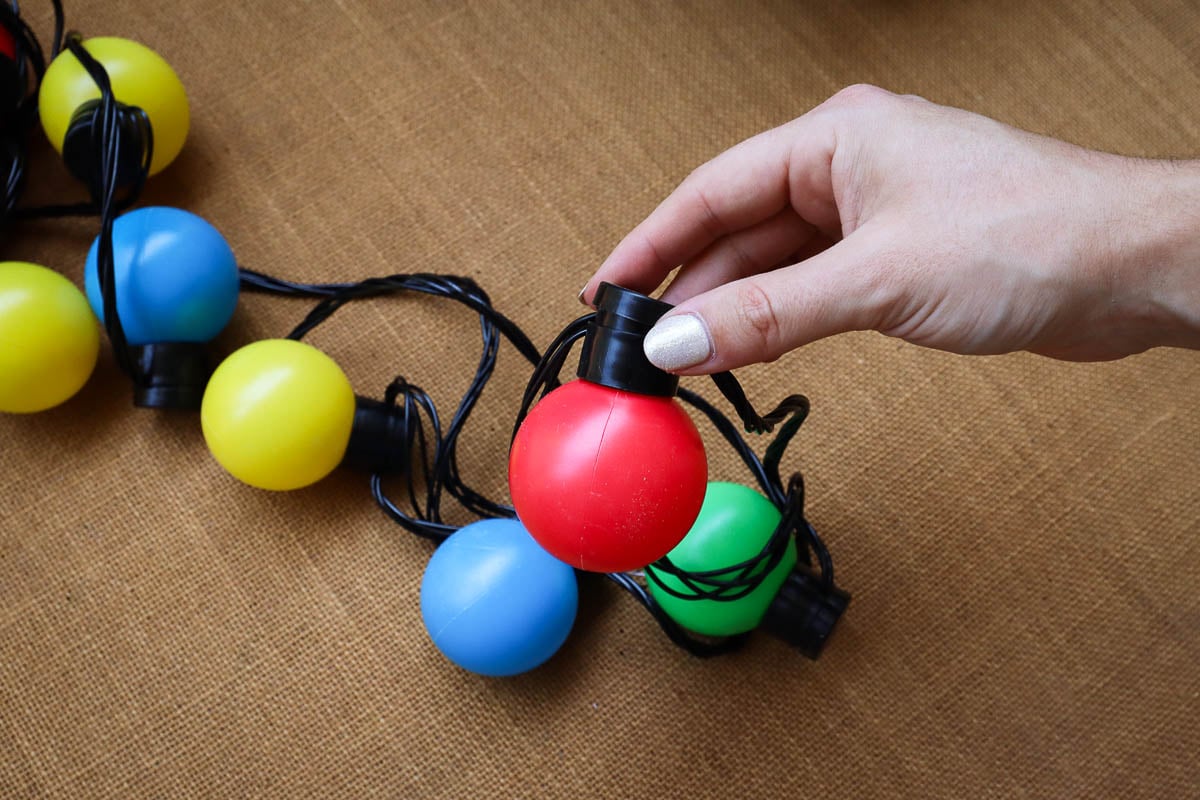
For this project, I went for these LED beach balls specifically designed for outdoor use. They’re a bit pricier than regular beach balls, but you need the LEDs for them to light up. The built-in LEDs do all the work—just turn them on, and you’ve got that classic bulb look in seconds. Plus, the inflatable material means they’re easy to store once the season’s over.
When I made this project there weren’t many options for LED beach balls, but Amazon now has multiple listings from many different sellers here. You may want to choose the beach balls that work best for you in terms of color, number and the reviews. Take a look here.
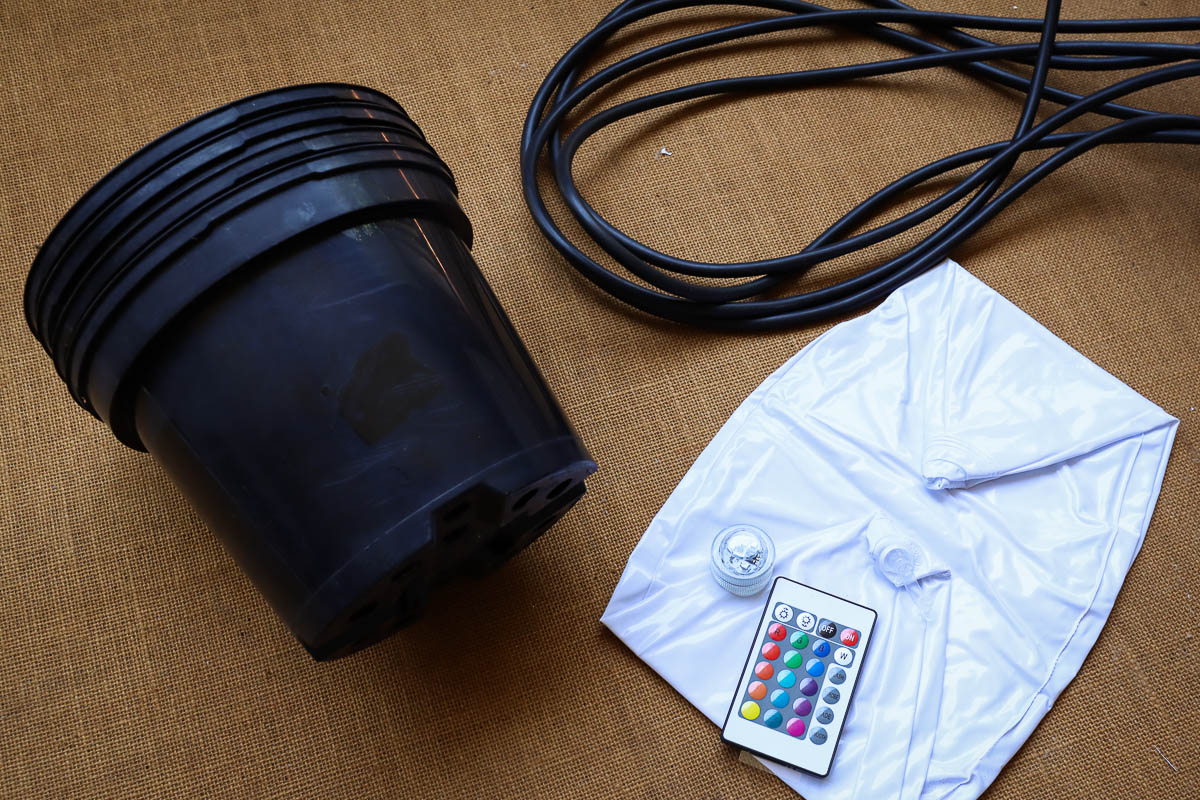
As the “tops” of these giant lights, I used small black plastic pots recycled from my garden. I have tons of them lying around, so why not repurpose them? If you don’t have nursery pots, you can purchase them here.
If you don’t have pots, any sturdy, weather-proof container will do. The goal is to mimic the shape of a light bulb’s cap. As for size, the diameter of the container should be just less than half the diameter of the ball. I took these measurements based on some real indoor Christmas lights I had at home.
For the ‘string’ part of these outdoor string lights, I grabbed some black cable I had in my garage, but rope or any wire works too. A decent glue is essential to keep everything in place, or strong tape if you want to reuse the balls later. If you want to use hot glue, make sure it’s a low-heat gun or you may risk damaging the plastic of the ball once it’s inflated.
Step 1
For starters, blow up your LED beach balls until they’re firm. My LED balls have a small opening in the end for inserting the lights, with the LEDs facing inward to light up the ball. But if yours are slightly different, follow any instructions that came with them.
Once the lights are fitted, switch them on to test out brightness and color modes. It’s worth spending a minute or two experimenting here. You don’t want to string a ball into the sequence, only to find out it’s not working when you switch them all on.
Step 2
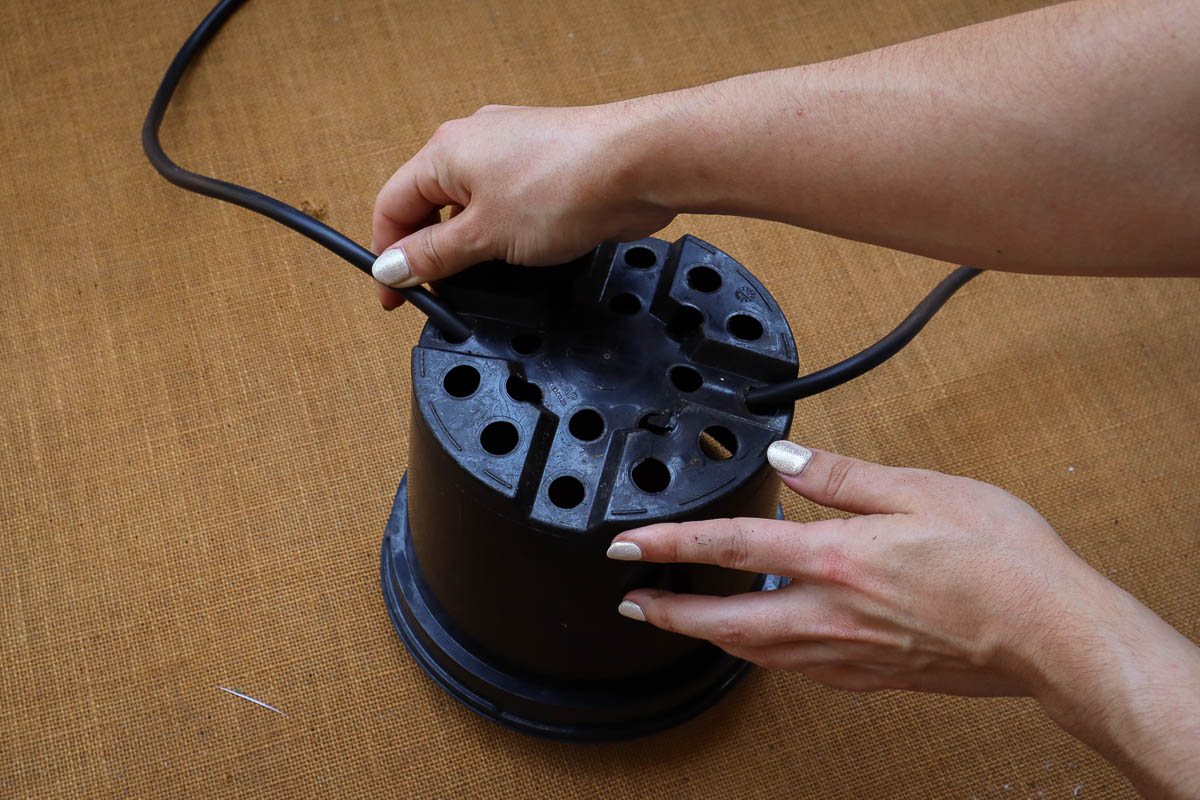
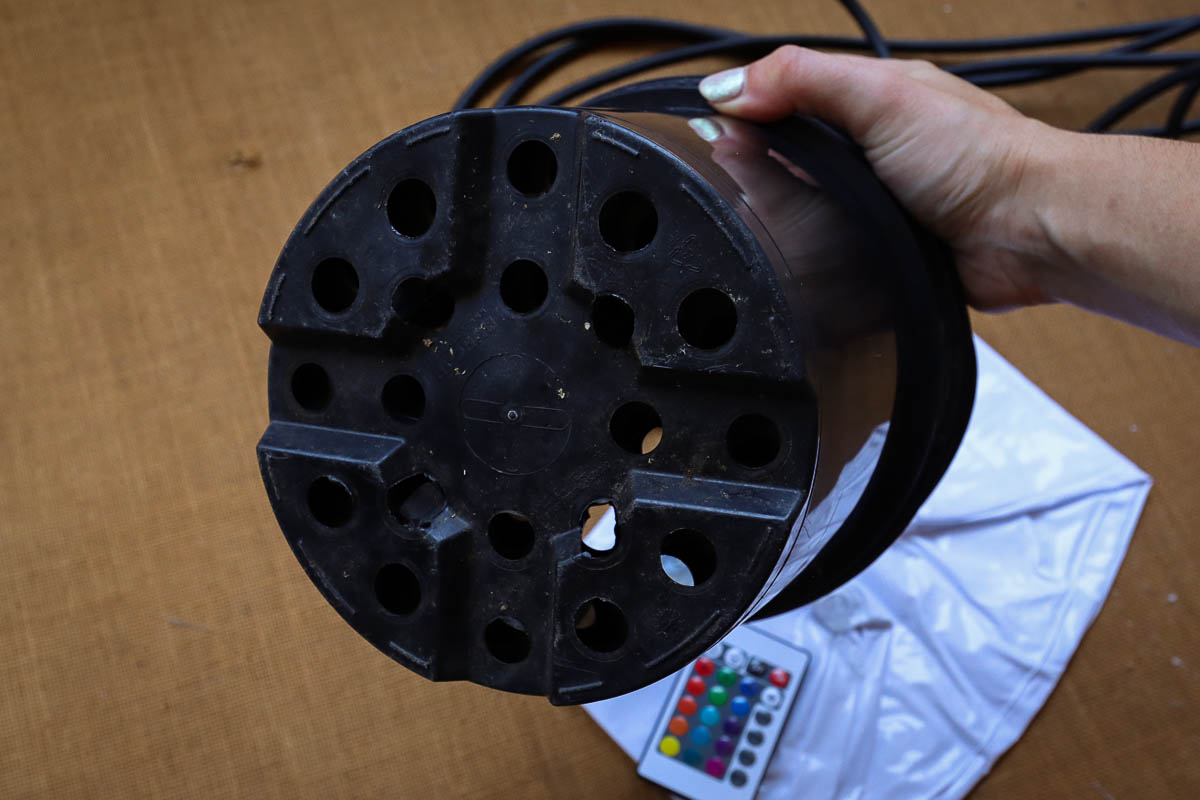
Next, thread your rope or wire through the holes you made in the tops. If you’re using a pot, simply thread the cable through the drainage holes. If your container doesn’t have holes at the bottom, cut two holes in the side near the base so the rope can go straight through.
Space the tops out evenly along the cable. You can eyeball this or mark the rope beforehand for more precision. Think about how real string lights look and mimic that gap to make it look more authentic.
If you’re unsure, start with more space rather than less—you can always slide them closer later. Pull the rope snug so the balls won’t slide around too much, but not so tight that they bunch up against each other.
Step 3
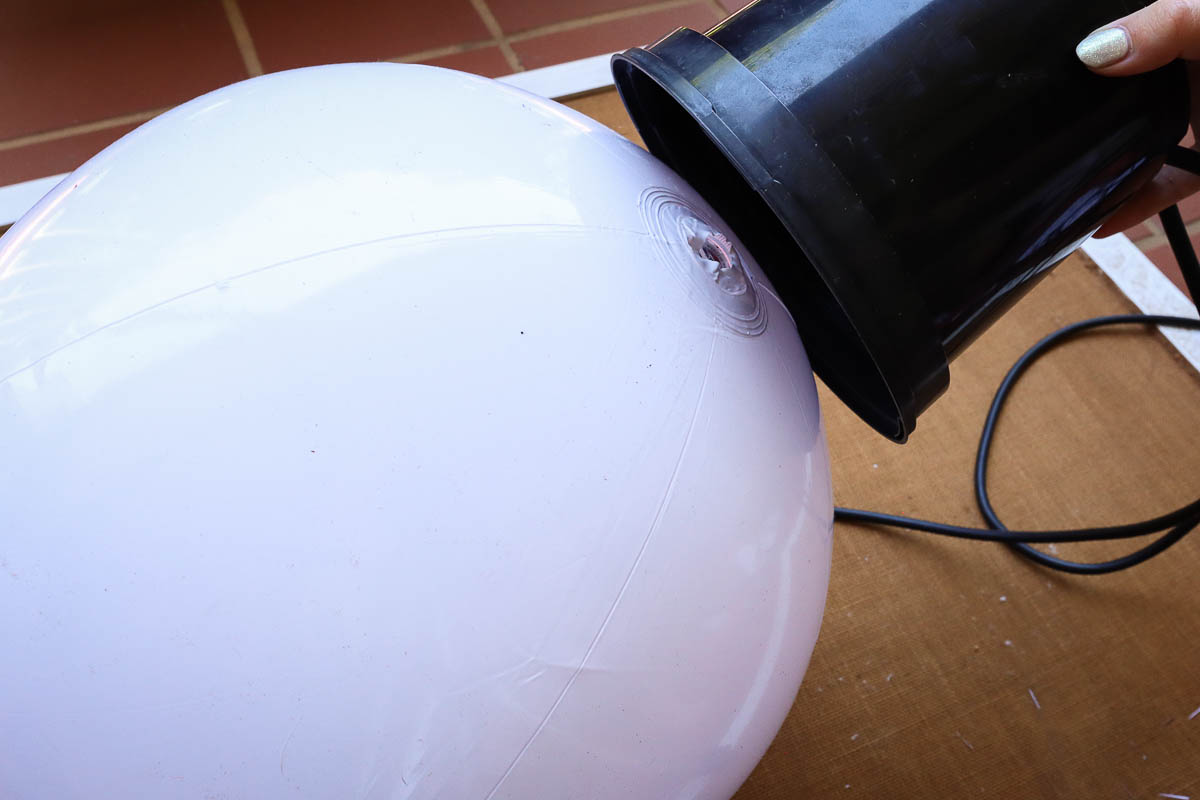
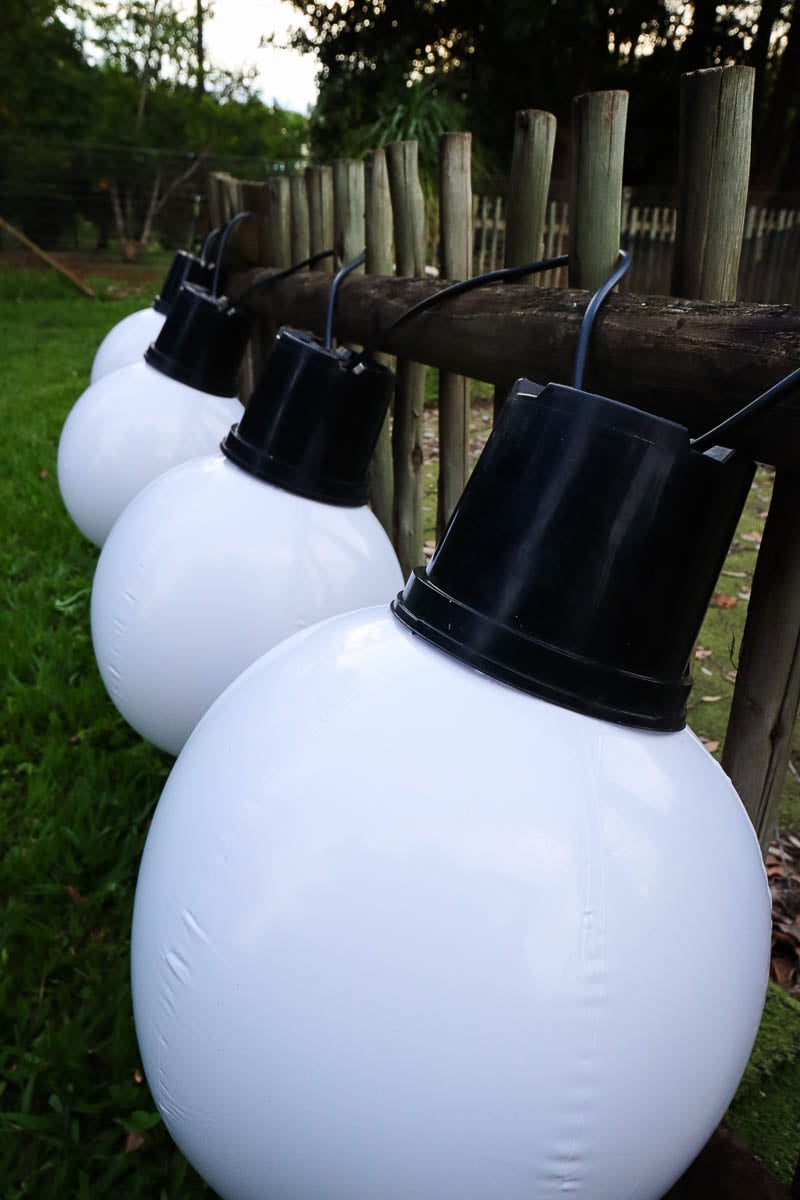
Grab your black pot (or whichever container you’ve chosen) and position it at the ‘top’ of each ball. This should be the end opposite the valve, so you can top up the inflation later on if needed.
Squeeze a line of strong, weather-resistant glue around the rim of the pot and press it firmly onto the ball. Hold it there for a minute or two so the glue sets enough to keep it stable.
Check the proportions: from a few steps away, does it look like a Christmas bulb? If something’s off, adjust it quickly while the glue is still tacky. Once it’s aligned, leave it to dry fully. It needs to stick well so the balls don’t fall off the tops later after hanging.
Step 3 Alternative

If you’re thinking ahead and want these LED balls to work for future projects (like giant baubles or a different seasonal display), try attaching the tops with thick black weather-proof tape rather than glue.
Wrap the tape around the edge of the pot and onto the ball, smoothing out any wrinkles. Alternatively, use a strip on the inside of the container and one on the back. Just know these won’t be as sturdy, so handle them with care when lifting, moving, or hanging.
Give them a gentle shake before stringing them up. If the top feels wobbly, add an extra strip of tape. Since the beach balls are light, duct tape should be strong enough to hold.
Step 4
Finally, find the ideal spot to show off your new décor. Along a fence that faces the street, or draped across a balcony railing where neighbors can admire them. Tie the rope ends securely, or use hooks if you have them to keep everything in place.
Flick on the LEDs and set them to a pattern and color that best matches the Christmas string light look. Choose one steady color for all of them, or assign each bulb a different hue. The best part is you can tweak as needed, depending on how you’re feeling that day.
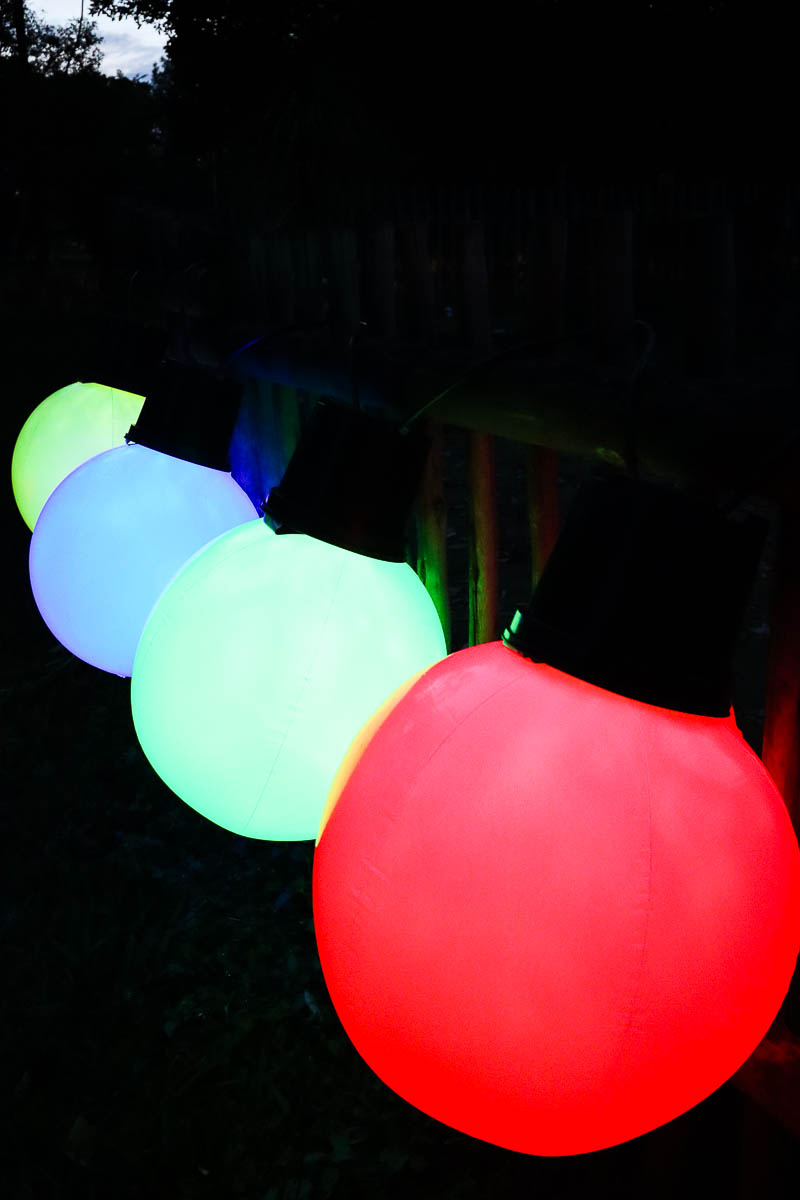
Once you’re satisfied, enjoy a bit of holiday magic outside with minimal hassle and maximum impact!