
I must admit, I’m a bit tired of the traditional red and green color scheme. There’s absolutely nothing wrong with classic Christmas colors, but I come from a household of yearly red and green, and sometimes it’s nice to change things up. Plus, I usually want something that fits with existing décor, leaning more minimalist rather than overly festive.
If that sounds like you, you should definitely try this wooden bead Christmas tree. For starters, it’s completely neutral, so you can leave it up well past the holidays if you want. The natural wood tone complements any color scheme, and the simple design appears elegant rather than overtly Christmas-themed.
And most importantly, it’s surprisingly easy to make with just a few materials.
What You’ll Need

The main element you’ll need to source is wooden beads. The size is completely up to you. It’s possible to mix different sizes as you circle up the tree, but uniform beads work just as well. Natural wood is my go-to choice, but you can also find beads in different wood tones if you want to add subtle variation. (Amazon has a great selection of different sizes and colors of wood beads here.)
Next, you’ll need wire for the frame. This is where things get a little more specific. For the tree I’m showing here, I used craft wire with small beads, and it works perfectly. However, if you’re planning a larger structure with bigger beads, you’ll need much stronger wire to support the weight. You’ll want craft wire with a gauge of 16-20, depending on the size of your beads.
Finally, you’ll need some craft glue or a glue gun to secure everything at the end.
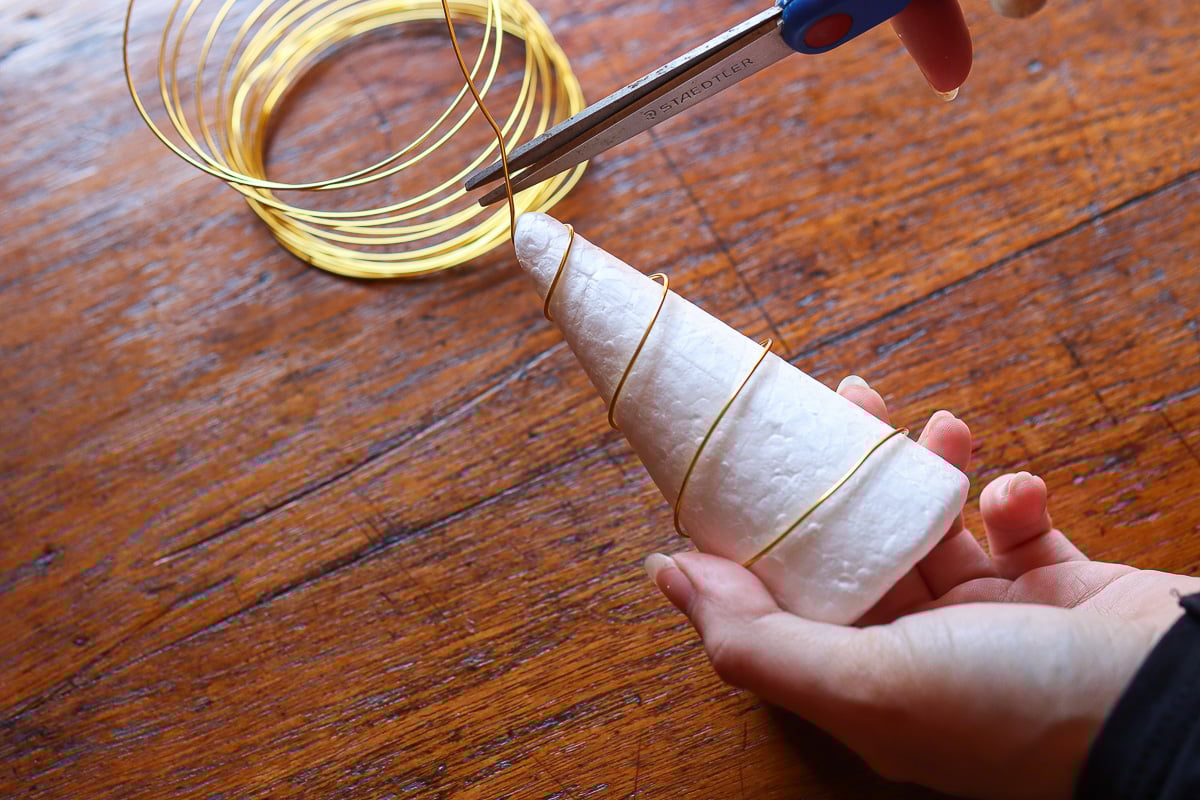
You will need wire cutters to cut and trim the wire. Avoid using scissors to cut wire, as it can dull and even damage your blades.
Tutorial
Keep reading below for a step by step photo and written tutorial, or watch this short 30 second video for a quick start guide.
Step 1: Choose a Size

Before you start cutting wire or threading beads, you need to decide how big you want your finished wooden bead Christmas tree to be. The size will determine how much wire you need and, more importantly, what strength of wire you should use. Going bigger also means the risk of less structutral stability, so try to find a balance.
For a small tabletop tree, thin craft wire works beautifully and is much easier to work with. But if you’re going bigger, you’ll definitely need to upgrade to a stronger wire. Bigger beads on thin wire create a wobbly mess that looks more like a pile of beads than a Christmas tree.
Step 2: Create a Frame
Now comes the foundation of your tree. This is what will give your wooden bead Christmas tree its shape, so take your time with this step.
Start by cutting a piece of wire that’s much longer than you think you need, or unravel the roll as you work with it. You can always trim excess wire, but running short means starting over.
Shape the wire into a spiral, starting from the bottom and working your way to the top. The bottom should be your widest point, tapering up to a point at the top.
Don’t worry about making it perfect, as it will shift slightly anyway as you thread the beads. If you need a guide, you can wrap the wire around a cone shape for a more perfect spiral.
Step 3: Thread the Beads

This is where the project gets meditative, and also where you can really customize the look of your tree. I like to work from the top down, but you can go in whatever direction works based on the size of your beads.
Thread your beads onto the wire frame, sliding them along to fill in your spiral shape. If you’re using all the same-size beads, just keep threading until the wire is nicely covered. If you’re adding other beads for pops of color or different shapes, work them in at regular intervals.
If you’re making a larger tree with bigger beads, you’ll really feel the weight at this point. This is why choosing the right wire strength in the beginning is so important. The frame needs to hold its shape even when fully loaded with beads.
Step 4: Glue or Twist the Ends

Once you’re happy with your bead placement, it’s time to secure everything so your tree doesn’t come apart. There’s nothing worse than having to pick up a pile of dropped beads after all your hard work.
Add a small dot of glue where the wire ends meet at the base of your tree. If you’re using a glue gun, you can keep it in place as hot glue sets fast. If you’re using craft glue, you have more time to adjust, but you’ll need to hold things in place for a bit longer.
I also like to add tiny dots of glue at a few strategic points along the wire where beads might slide around. Just enough to keep everything stable. Be careful not to use too much glue, as it can be visible once it dries and might detract from the natural wood look.
If you don’t have glue, you can always just bend the wire to keep the beads in place. However, they may still move around, so be careful when placing your tree if you go this route.
Step 5: Placement

You now have a gorgeous neutral Christmas tree that works with any décor style. But where you put it can really make a difference in how it looks.
If you have some extra beads, these trees look fantastic grouped together in odd numbers. Three different sizes create a nice little forest on a mantel or side table. You can also use them as table decor for a holiday dinner (and each guest could get their own little tree to take home).
Or, use them as part of a centerpiece, surrounded by pinecones and white candles. The neutral wood tone plays beautifully with other natural elements. They also work well on bookshelves, mixed in with your regular decorations for just a subtle hint of holiday spirit.
If you made a larger, sturdier tree, you can even add tiny string lights by weaving them through the beads. The warm light through the natural wood creates the most beautiful, cozy glow.
The best part about these wooden bead Christmas trees is that you really can leave them up year-round if you want. They’re subtle enough to work as regular home décor, but special enough to feel festive during the holidays.